01.30.2018
0600
Materials:
- One pair of denim jeans
Tools:
- Sewing machine
- Sewing Kit
So recently I started going auditing my traveling items such as my bath bag, travel accessories as well as my sport bags. I wanted to find 3 pieces of clothing to donate, but I also noticed that my bath bag wasn’t containing my bath items comfortably.
So I had the choice to go buy/find a new bath bag or find another solution. Out of the items I decided to donate, I found a tank top, sweater and a pair of jeans. Denim is one of my favorite materials to work with. I love upcycling denim into new items. The idea of donating the pair of jeans wasn’t exactly what I thought I would do, so I decided to make a stand up bath bag for myself, or at least a few stand up bags.
I’ve owned bath bags before, but the material was with a polyester or nylon blend. Over time, my bath bags would have soap or toothpaste residue stains. I figured that with a denim bath bag, I could simply throw it into the washing machine and it would clean easily.
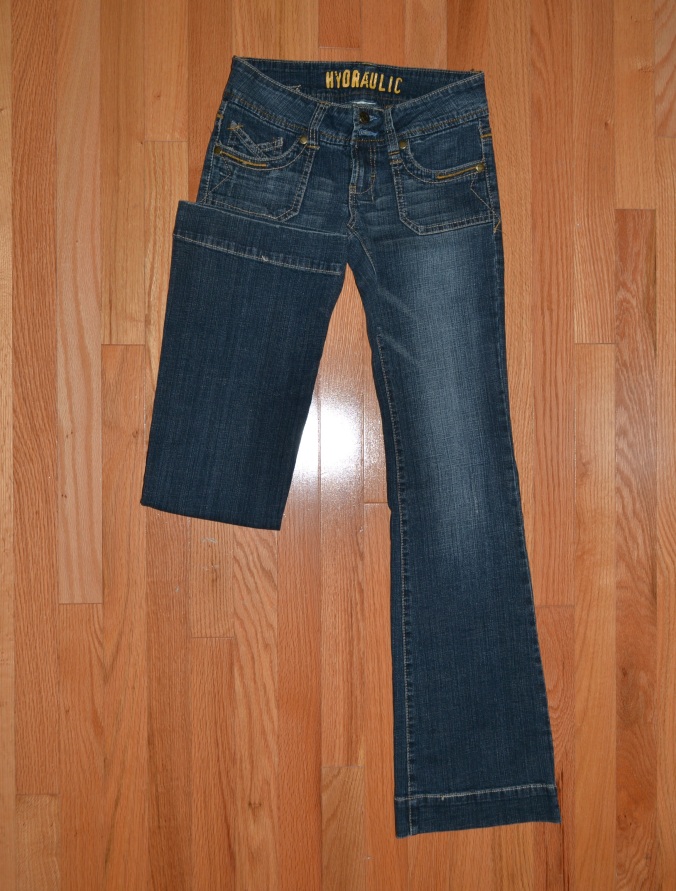
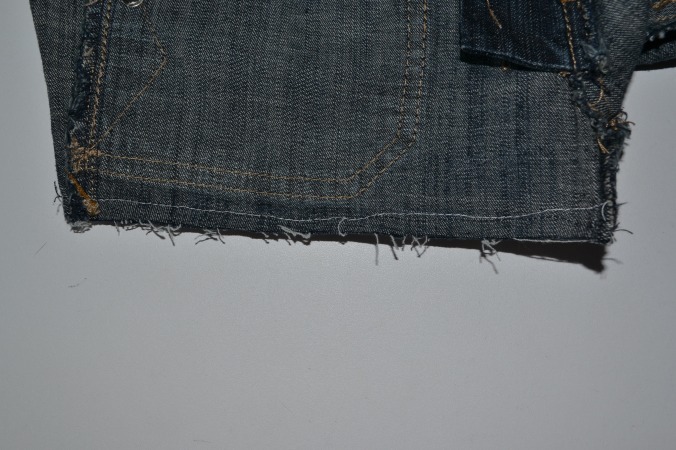
I divided each leg in half by folding it in half. I then cut the legs off from the pair of jeans and then divided each piece in half.
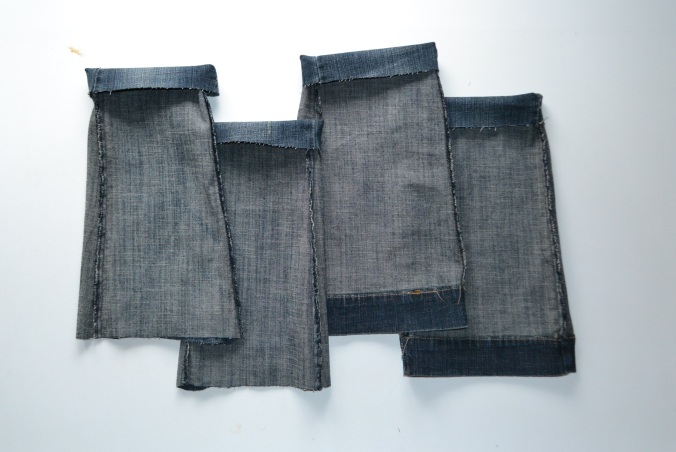
I turned each of them inside out and designated the wider end of the pieces as the bottom of the bag and the smaller ends as the top of the bag. I folded the top of the bags down to create the drawstring tube. This is where I wanted to install the drawstring later.

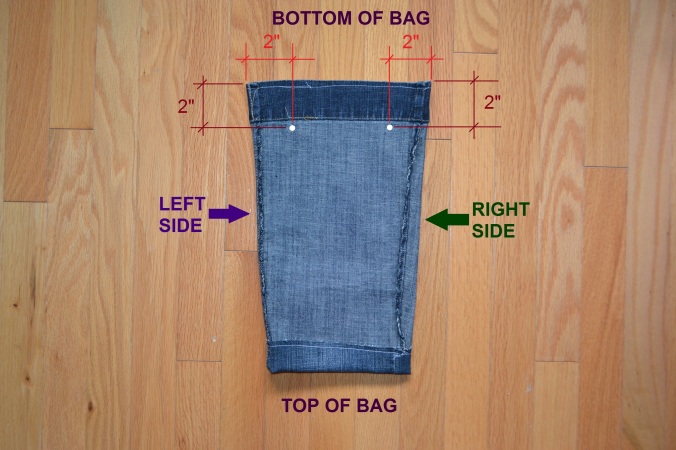
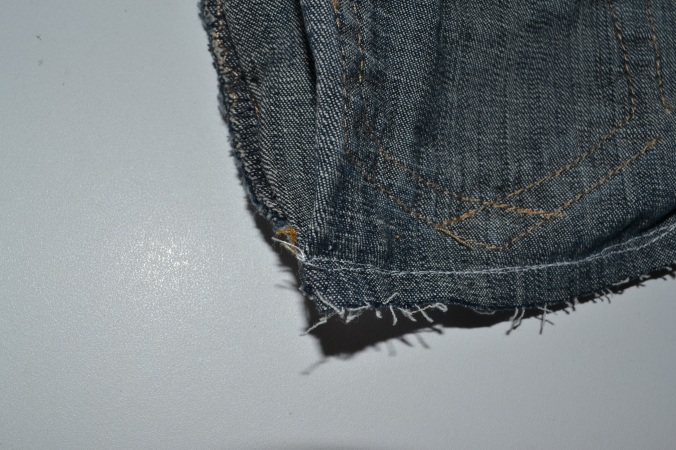
I hemmed the bottoms of the bags by simply sewing a sew line across the bottom. I then sewed the drawstring tube. I measured 2″x2″ squares on the corners on bottom.
I marked these white dots on BOTH SIDES OF THE BAG, near the bottom section of the bag. These white dots will be used as guides of where you will sew in the next step.
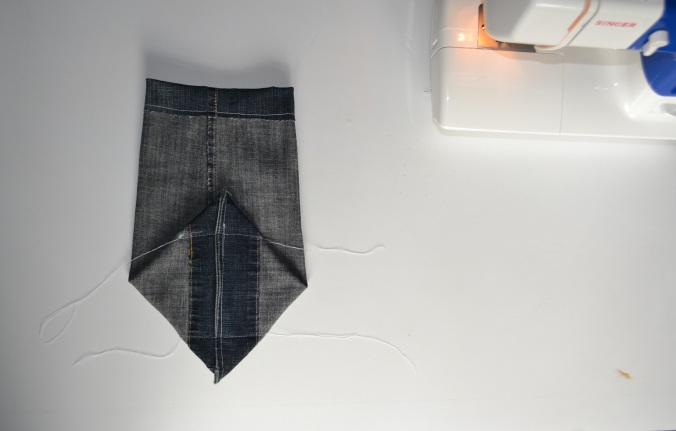
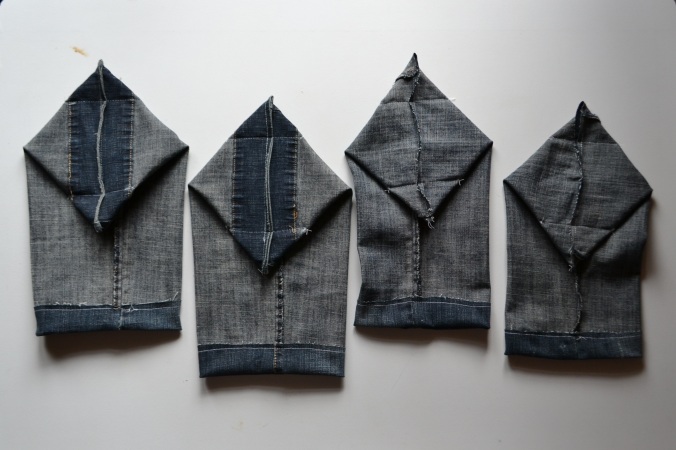
I then flipped the bag upside down, and so that the right side seam was facing up. I then folded the bottom of the bag to create a diamond shape. You should be able to locate all four dots that were created in the last step, when molding the diamond shape.
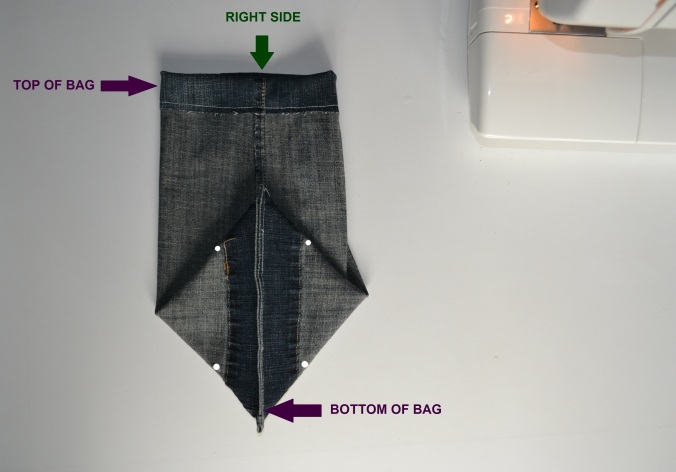
The dots are guides to sew where you will sew horizontally across the diamond. After sewing the two lines, the diamond should look like this.
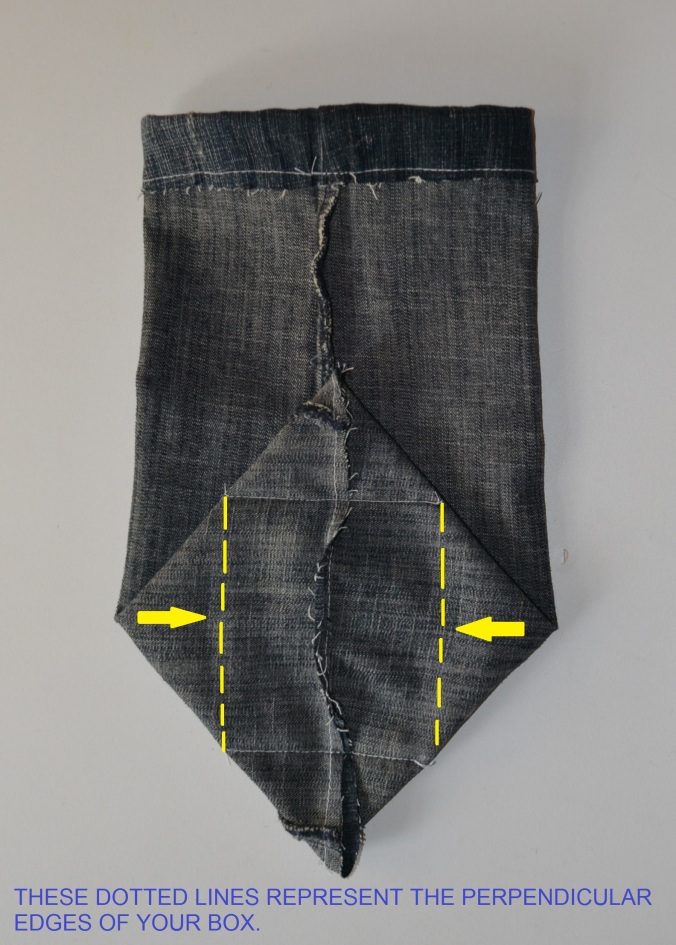
Since I was initially thinking of making a new bath bag, I wanted to sew a small pocket inside of that bag. I had this extra pocket left over from my Handmade Handkerchiefs project, so I added it on the inside. To find the opposing edges of the box, you can locate it by finding the perpendicular lines of the top and bottom hemmed lines.
If you want to make a small pocket inside, you can sew a piece of material to the inside of the bag, as long as you leave to top of the material open.
In this case, because the pocket was more than half of the height of the bag, I placed the pocket towards the bottom of the bag. I also knew that I would be folding the bag down when in use, so placing it towards the bottom gave me room for the top to be folded down.

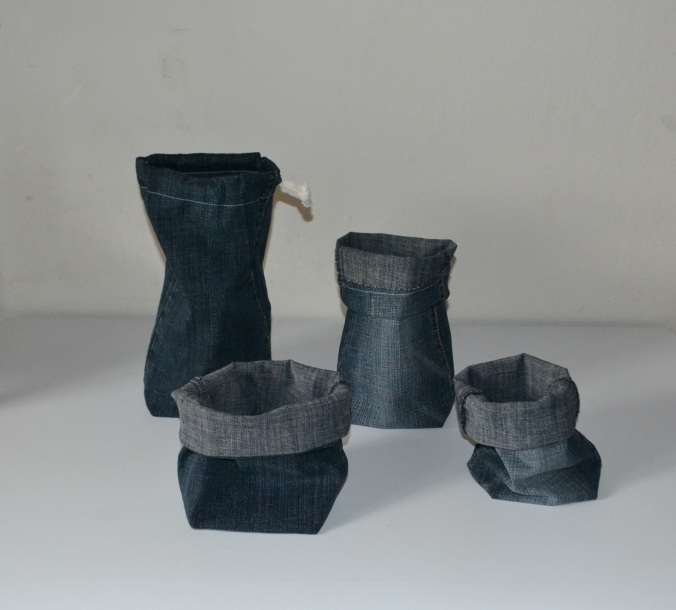
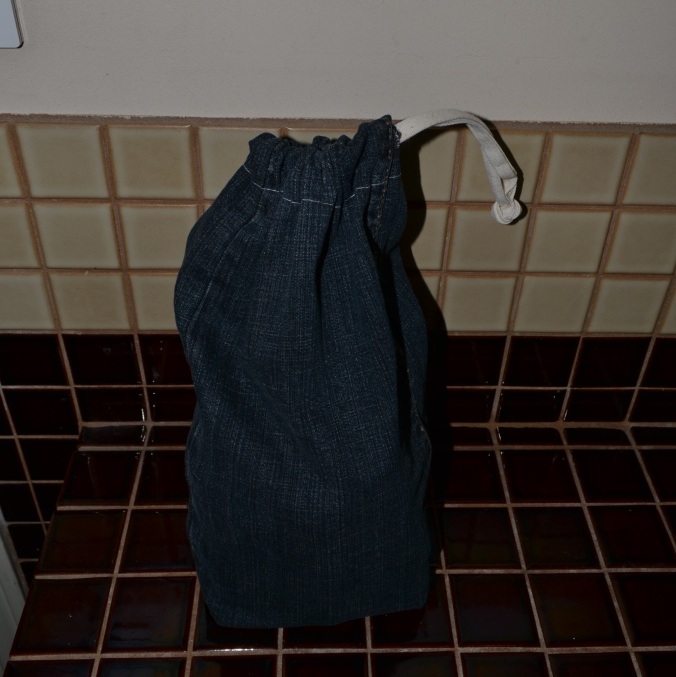
Once I pulled the drawstrings through the bags, this is what they looked like. They stand up pretty well, and I can fold them down to create a top frame for the boxes.
This is what my bath bag looks like now.
I like the fact that I can simply fold my bag down and be able to access everything I need inside. I also have the habit of attaching a ring to the interior of any bag. So I attached a metal ring to the inside seam of the bag, because I wanted to hang small bath items for easy access.
So there you have it. This was my solution to my travel bath bag issue. I genuinely love denim and to make these stand up drawstring bags with this material is one of my favorite kinds of sewing projects that I like to get involved in.
I used my other bags for some camera gear and for another bag I use for traveling. The denim creates a nice thickness for the bottom of these bags, which is why I like to use them for electronics.

As a bonus…
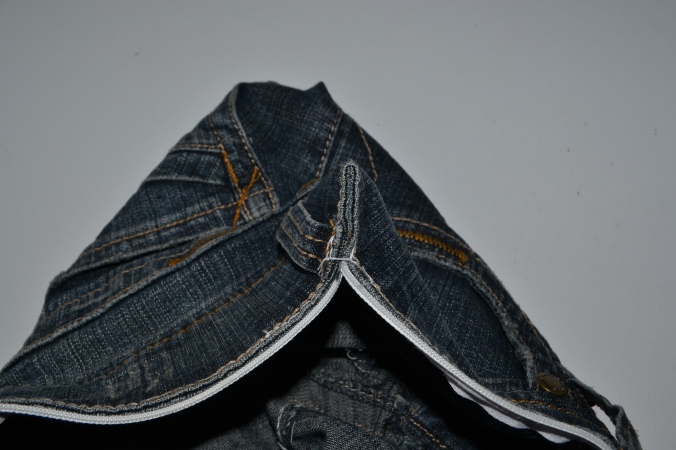
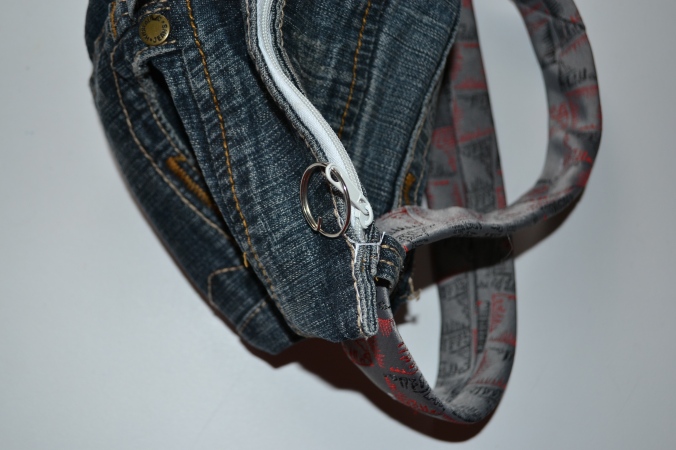
I made a bag out of the top part of my denim jeans. I simply flipped the top inside out and hemmed the pant leg openings. Due to the nature of how the jeans were cut and sewed, I folded the outer edges of the jeans inward when I hemmed them.
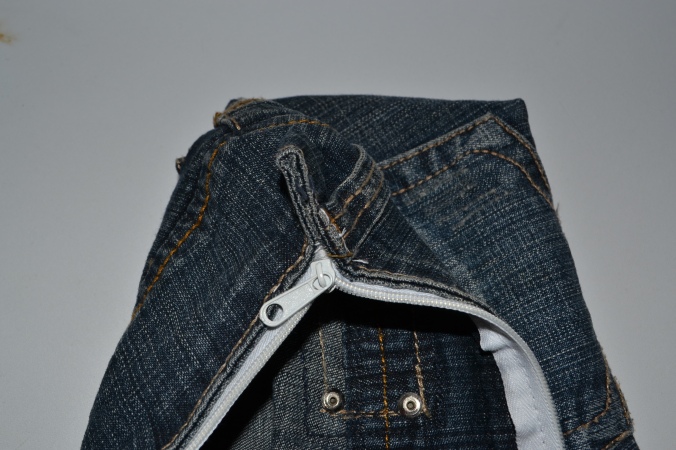
I then sewed a zipper to the top opening of the jeans using sewing pins to hold the zipper in place and then sewing it to my pants. I used the same sewing steps to attach the zipper as to when I Created Slim Hanging Organizers.
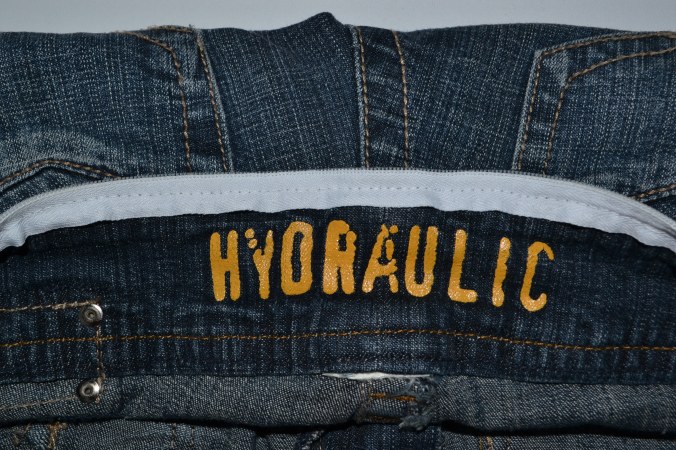
Since my zipper wasn’t quite long enough for the length of the jeans, I closed off the jeans by sewing the top together.
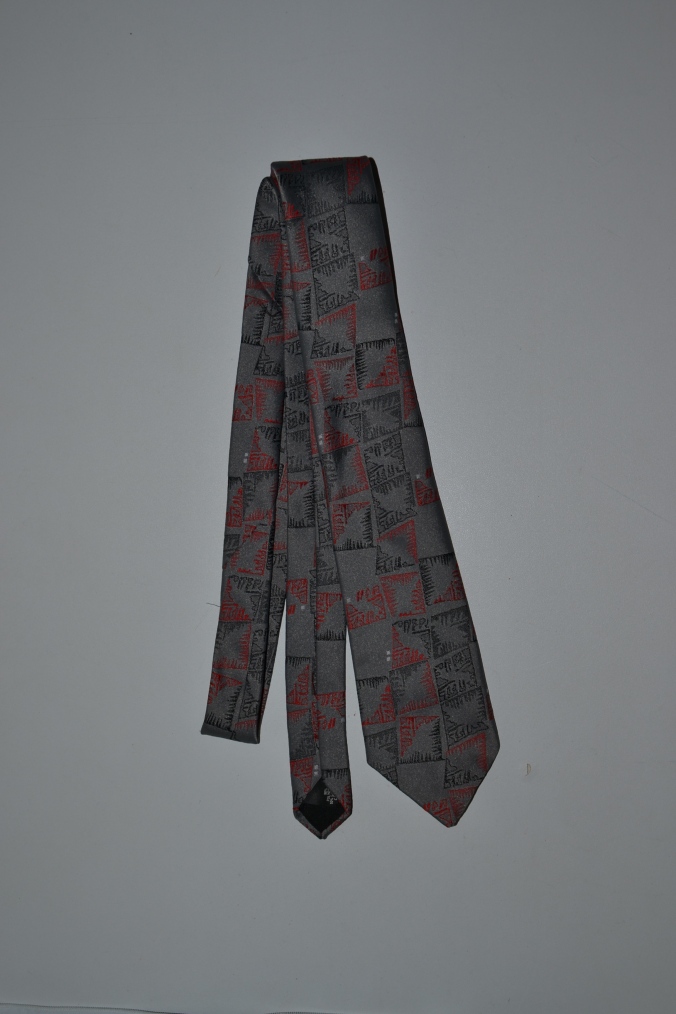
I used an extra tie to create the handles of this bag. This was a simple choice but some people may prefer to use a belt or something more to their taste. I chose the tie because I wanted to be able to throw everything into the washing machine.
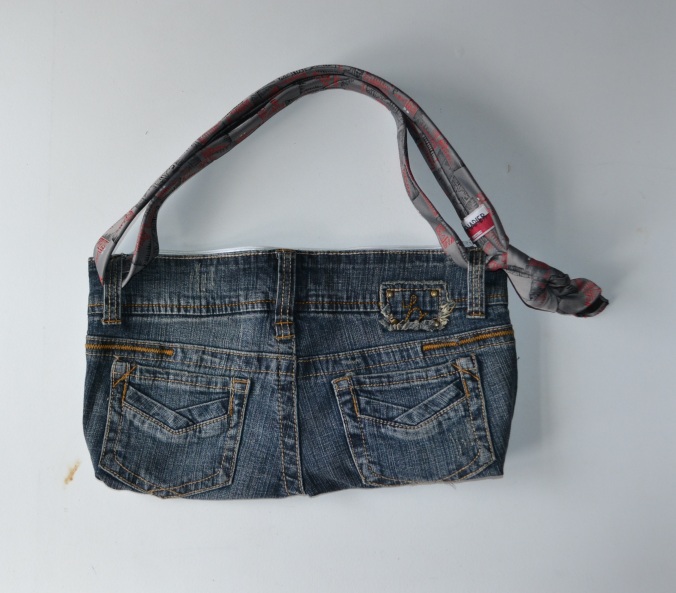
And as always, I attached a metal ring to my zipper for a slightly easier access.
I use this bag to hold some smaller items that need a bit of cushion like camera gear or smaller electronics.

This really answered my drawback, thanks!
LikeLike
These bags are really cute! I have a pair of jeans worn through the thigh, all set to do some repurposing with! Thanks for the idea.
LikeLiked by 1 person
What a great idea. So creative.
LikeLiked by 1 person
Thats adorable! Will definitely try it out when some of my jeans rip.
LikeLiked by 1 person
These are gorgeous! I have some old jeans that I’ve been wondering what to do with, now I have the perfect instructions😃
LikeLiked by 1 person