Zero Waste Tips And Habits

08.19.2019

0600

Committing to a Zero Waste lifestyle, does take a good amount of preparation.  If you look around your kitchen, bathroom and even your bedroom, a lot of our world is made of plastic. 

BEFORE TRANSITIONING TO A ZERO WASTE LIFESTYLE:


The easiest way I can instruct someone to go about transitioning to a Zero Waste Lifestyle, is to go room by room, and I would start with the kitchen. It’s not quick, since you have to go through every drawer, cabinet, closet, shelf, and the storage container. I would technically audit each room in this order:

  • Kitchen – We tend to buy the most items for this room, and food items frequently circulate in and out of this room
  • Bathroom(s)- We use quite a bit of personal care items, which have expiration dates, so I think this room also has a slew of products being brought in and thrown out
  • Storage closet(s)- Some households store extra supplies in closets, so I would go through and make a list of items I frequently stock up on. 
  • Bedroom(s)- Specifically, clothing and other disposable items that are bought, used and kept here
  • Living Room & Dining Room- Check cabinets or drawers where you may keep extra supplies of items, and list them 
  • Garage- This might be a big audit, since people use their garages for a variety of things. But I would go through and find all of the single use, disposable items and then find other bottles/jars/canisters that will create waste once the product is used up. 

DURING THE TRANSITION TO A ZERO WASTE LIFE STYLE:

During the process of transitioning to a more zero waste lifestyle, there will be a slew of products or foods, you will end up using up and finishing up. A big part of this section of the process, is a countdown to the day you finish using up that shampoo bottle, bag of rice, toothpaste tube, nail polish, nail polish remover, etc. Although, waiting until the end of the life of a product can feel frustrating, it buys you time to research on products you plan on replacing the action with.

Keep in mind that investing in products made from sustainable materials and have been proven to last a long time, are better investments for your wallet. When I was going through my transition, I came to realize that I don’t really care what zero waste looks like in my home. I’m more concerned about the function of the products I invested in. Some people do care about style and that’s perfectly fine; I am simply the type of person that does not. I don’t have a glass cup for every type of occasion, or have very specific dishes to use for certain occasions, but that’s just how I like to live. I like living a minimalist life and my zero waste lifestyle reflects on it as well.

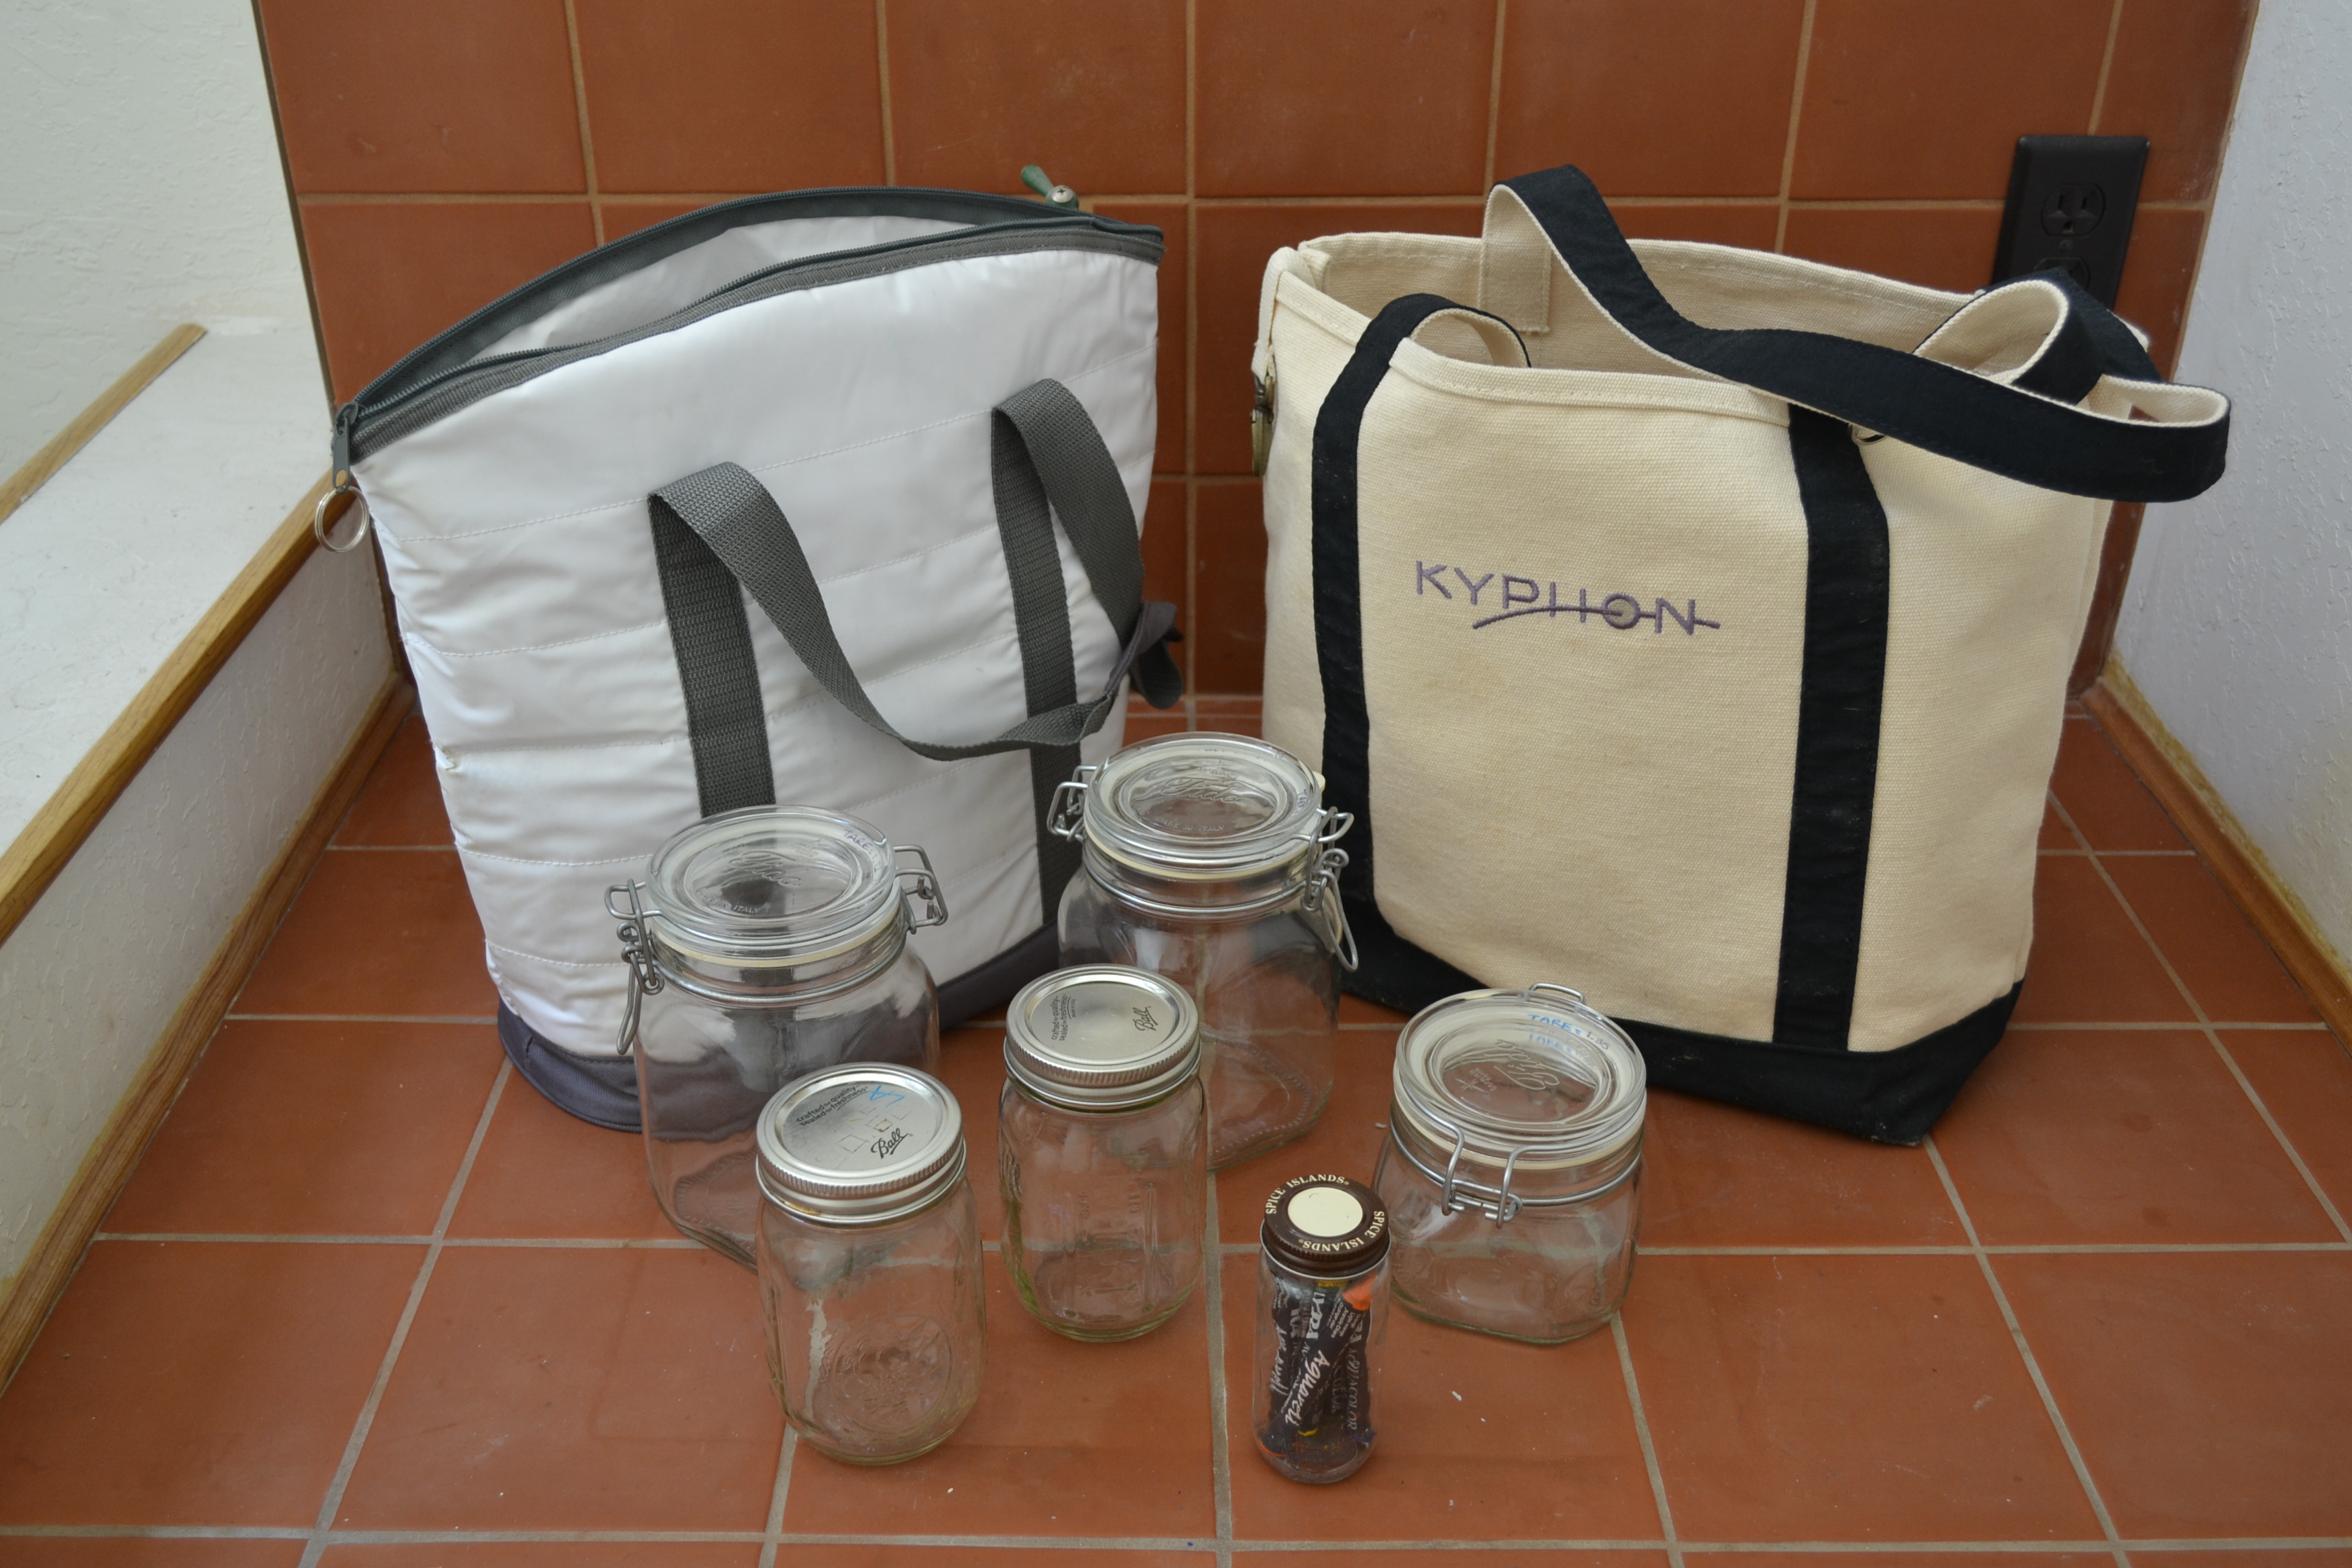
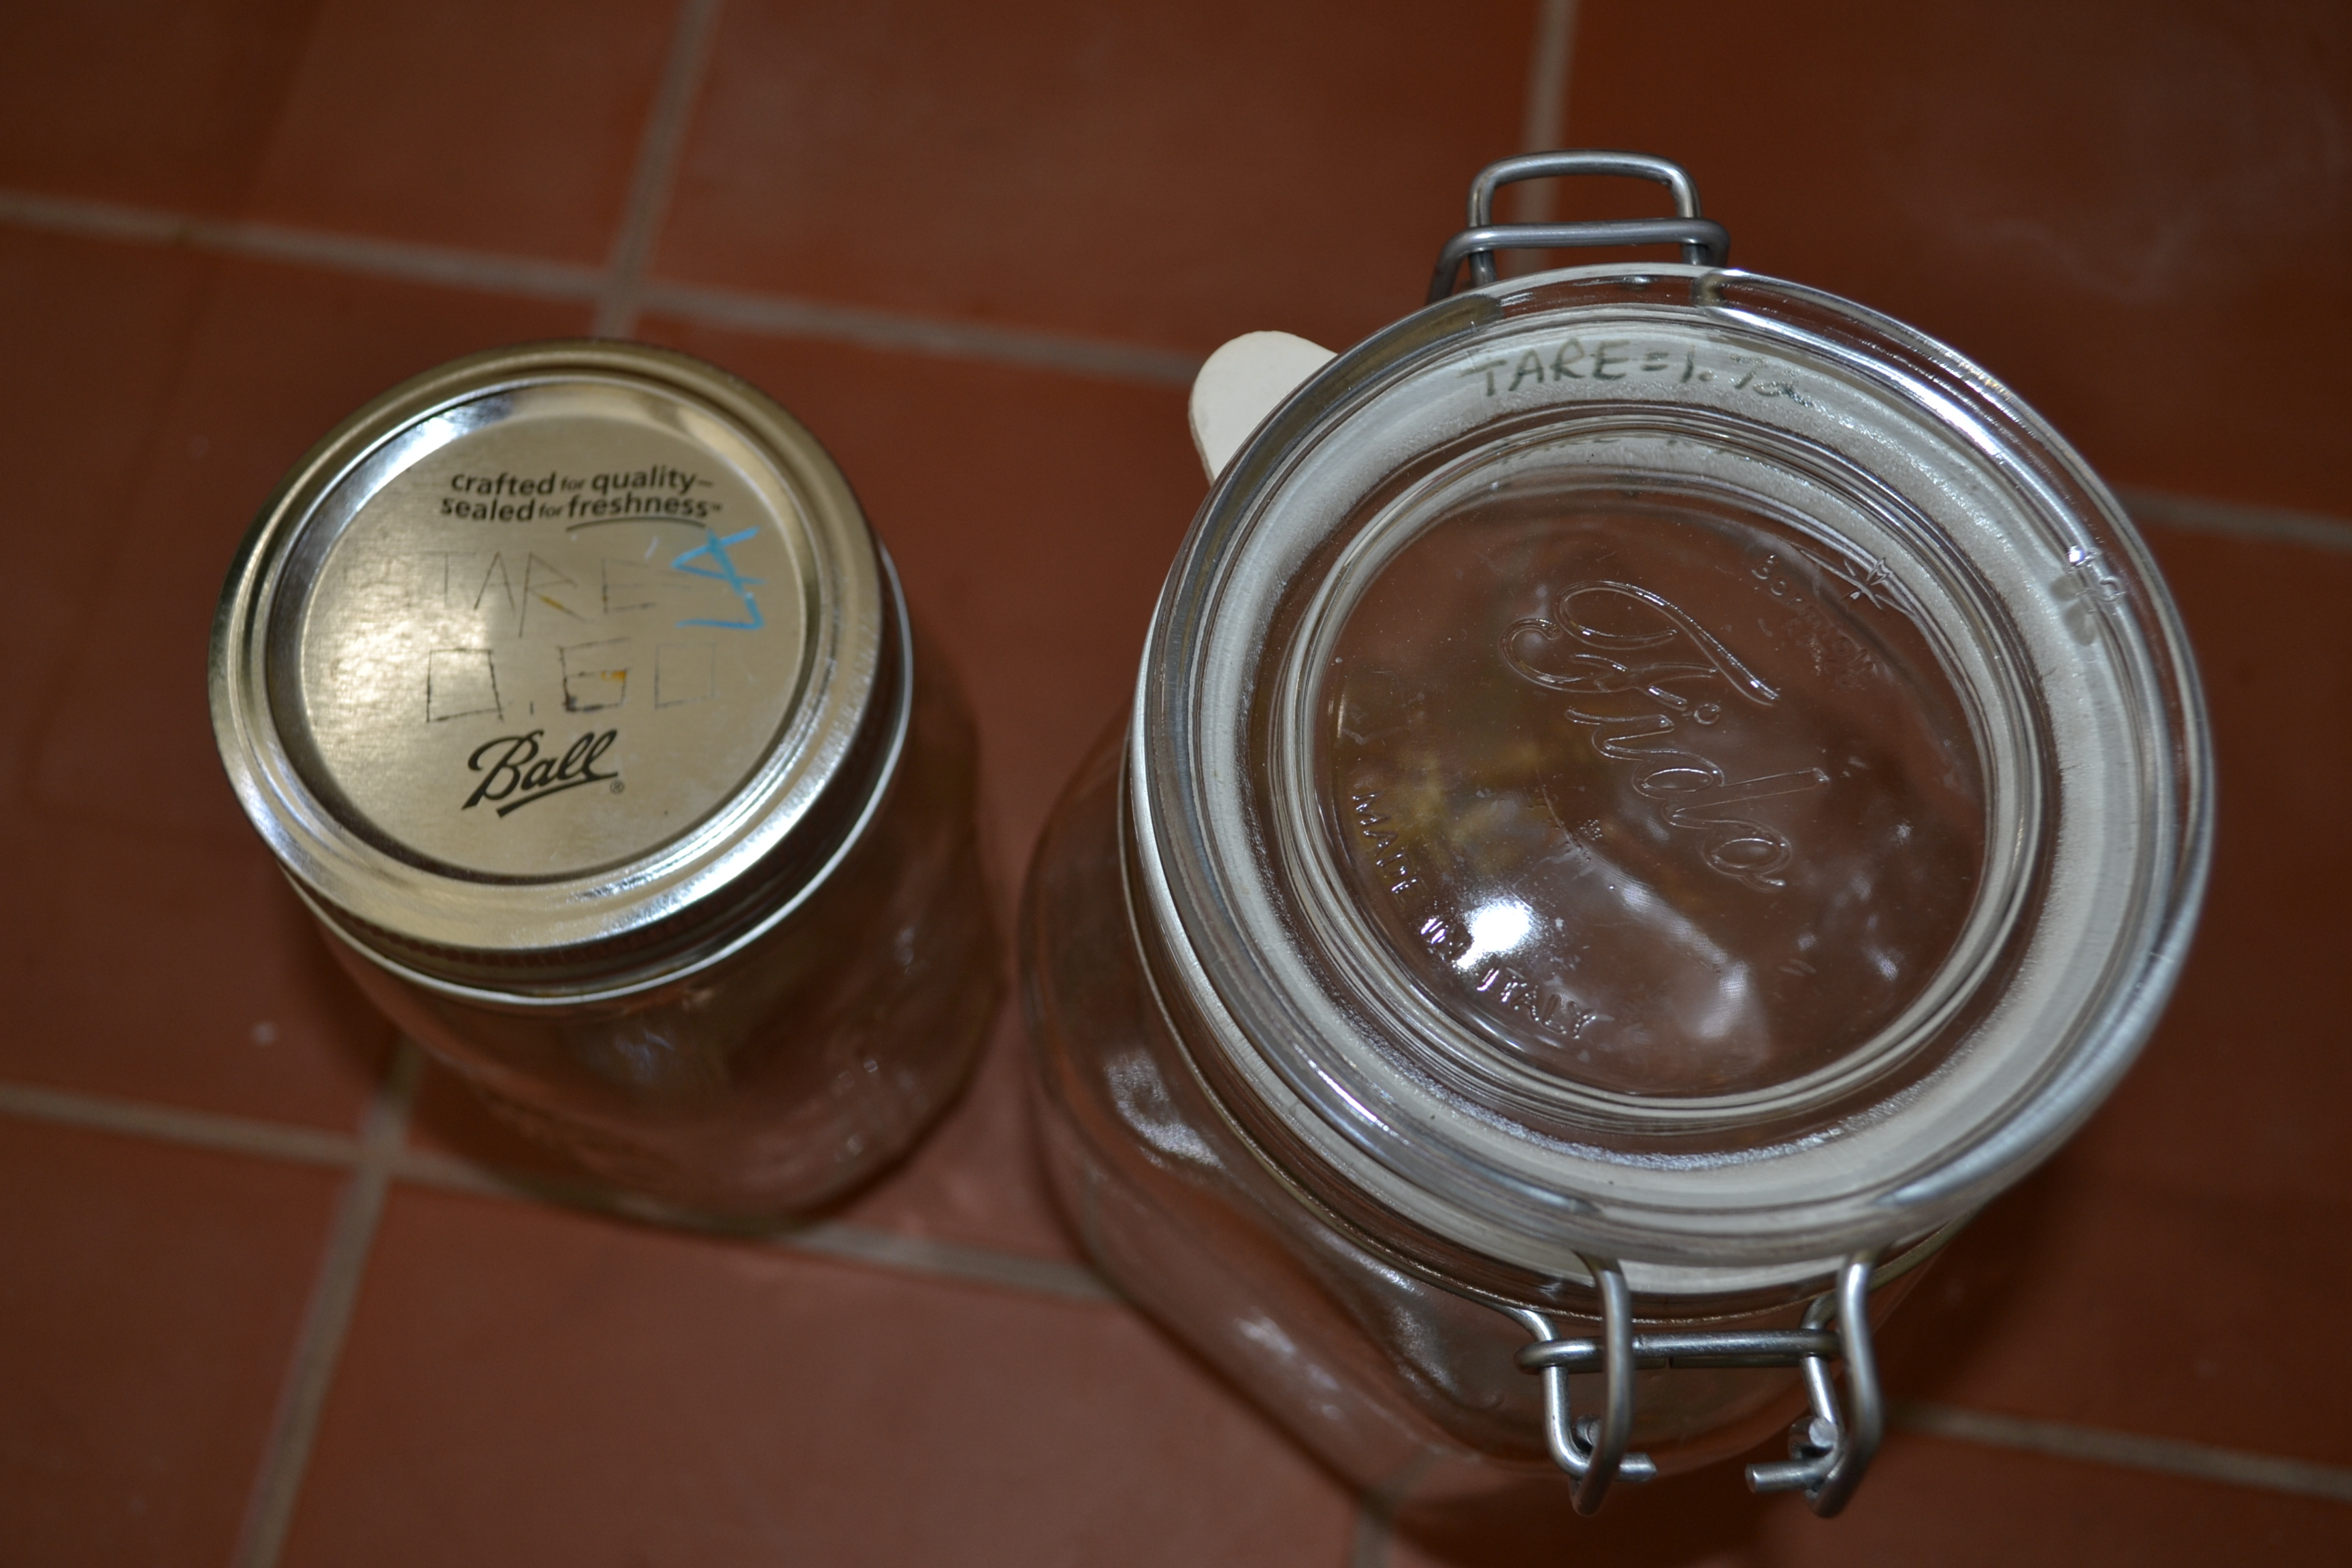
I like investing in products that I can clean easily, durable and can be used for a multitude of uses. I don’t have glass bottles of olive oil, balsamic vinegar and liquid amnios, but I do have refillable glass mason jars for olive oil, balsalmic vinegar, honey and liquid amnios.

If I can’t clean and reuse the new product easily, it’s a no buy in my opinion.

AFTER THE TRANSITION TO A ZERO WASTE LIFE STYLE:

Remember the FIVE Rs: from Bea Johnson, author of The Zero Waste Home, “Refuse, Reduce, Reuse, Recycle and Rot”. Refuse what you don’t need, reduce what you do need, reuse what you can, recycle what you can and rot (compost) the rest.

Maintaining a zero waste lifestyle takes a great sense of self awareness. Refusing to buy food, products and items you normally purchase, takes restraint and intent. You’re changing the way you live, by altering what you purchase and how you purchase products. To this day, when I walk into new restaurants and drink shops, I will ask if they will accept my water bottle to contain the drink, and sometimes I get turned down. But I respect their policy and simply take my business elsewhere. I still want to know if other restaurants will accept my reusable utensils and Tupperware, because than I know I can return to the establishment.

I also drive around with a “To Go Carry Out Kit“. The kit helps when I stop by a restaurant to pick up food, before I get home. It also comes in handy for impromptu picnics and dropping by family and friends homes to join in on a potluck.

In my day to day routine, I carry around a reusable utensils kit and reuseable water bottle. I tend to buy more vegetables and fruit, than I do with bulk grains and dry food. I occasionally will snack on almonds or pecans, but it’s rare. The majority of how I set up my weekday meal plans, are simply green salads and salmon. I don’t eat much grains anymore, except a bit of brown rice.

So basically the main steps are:

  • Use up everything you purchase that comes in plastic or non recyclable packaging.
  • Find alternatives for the “absolute must need items” you use.
  • Refuse any items you don’t need, such as single use disposable items, freebies, etc.
  • Set up a bulk buying system for your kitchen, bathroom, garage, etc. needs.
  • Carry around a reuseable utensils kit with a reuseable water bottle.
  • SPREAD THE WORD.

Don’t worry about the naysayers. I started this lifestyle back in 2010, when it wasn’t popular at all. I got the weird looks, comments, jabs from friends, family, co-workers and on social media. Doing something different and starting something new, will always bring more questions. Just stay on the road, and steer straight ahead, you’ll get there.

How To Reduce Waste In Your Home

08.12.2019

0600

Reducing the amount of trash that comes into your home is not as hard as it sounds. It might sound like a daunting task because we as consumers, buy a lot of packaged items that we bring into our home. However, it’s a simple process of elimination.

For instance, if you evaluate your kitchen items and everything you buy weekly, monthly, and yearly- that’s pretty much your entire list. For the yearly items, if you can find reusable alternatives, you can essentially eliminate your yearly inventory shopping.

Then, list all your weekly items that you tend to buy, and find reusable, non-toxic alternatives for those items. Your weekly and daily items are most likely the trash culprits. Half of the time, we don’t realize how many coffee cups we buy every day or even plastic packaged lunch items that we purchase daily. Eliminating the daily trash will help greatly reduce the amount of trash that enters your home. There are a lot of reasonable alternatives when it comes to kitchen items. Using cloth napkins in lieu of paper napkins, and using real dishware instead of paper plates can help eliminate the disposable trash output. You can also use real utensils instead of disposable utensils. You can bring a reusable coffee Tumbler when you go to get tea or coffee, so you don’t end up with a disposable cup.

A lot of people don’t know that the paper containers provided for us at grocery stores, and food establishments are lined with plastic, and those containers do not compost or bio degrade. The plastic layer, prevents it from composting completely. It’s a little bit like green washing because you may think your container is completely made of cardboard but it really isn’t. Using reusable items is a much better alternative, because you are in control of how much trash you are producing.

For your bathroom items, it’s the same process as evaluating your kitchen items. Go through your items and figure out which products you use and purchase, yearly, weekly and daily. Slowly replace the yearly items with reusable and sustainable options, as well as a weekly and daily items.

When it comes to medications or anything medical, I suggest that you consult with a doctor before you decide to eliminate certain products. I purchase sunscreen consistently. I live in California, where the sun is strong, and skin cancer is a real concern. I’m very aware that I am producing plastic trash with my sunscreen bottles. However, I would never want to put my health at risk just so I can proclaim that “My lifestyle is absolutely zero waste!”, and I wouldn’t want you to do that either.

Health concerns are very personal, so you know your own limit. If you can eliminate a plastic contained product and opt for a reusable version, than I think that’s great. Right now, I buy my conditioner, body lotion, bar soap, liquid soap, and tooth powder, in bulk. When it comes to sunscreen, face moisturizer and dental floss, those come in packaging.

You can use this evaluation process for the other rooms in your home. The biggest trash producers are the kitchen and the bathrooms. Some people have other rooms where they tend to buy a lot of items for, and those can be also evaluated in the same fashion.

This process takes time, and it takes self awareness to be consistent. Start slow and just work on an area or room in a certain amount of time. If you give yourself a time limit, staying consistent and motivated, becomes easier.

The Zero Waste Lifestyle Commitment

07.22.2019

0600

The zero waste lifestyle is a 24 hour a day commitment. I’m not gonna lie, but you do have to be conscious of it. I’ve slipped up a few times, because I wasn’t aware of how a restaurant packaged their food, or that the restaurant automatically gave me disposable utensils (even after I asked them to not include it). I’ve walked away from restaurants, with a plastic drink container, because I forgot that my water bottle at home. (I hang onto the cups to contain my smaller trash items.) but it is so easy to slip up and make a mistake, so don’t feel bad if you do. There are disposable utensils, cutlery, napkins, sauces, wrapping, etc. at every restaurant in the United States; usually comes in the form of take out. Some of the disposable items do serve a purpose such as, sanitary situations, but more than likely they are used for a very short amount time and then tossed into the landfill.

If you’re anything like me, you’re probably carrying around one of these reuseable utensils kits. This kit will likely include a reuseable spoon, fork, knife, chopsticks, a metal straw, a cloth napkin, and perhaps a cloth handkerchief. I will also carry around a water bottle and sometimes my coffee tumbler too. Most of the time, my water bottle is empty in case I want to go get coffee, and then I just use my water bottle to contain my coffee. 

Being aware that the zero waste lifestyle is a constant commitment, means that it influences where you decide to eat, what you decide to eat and even where you decide to go to spend your time. Even though it is a conscious effort, and a lifestyle commitment, it does become easier over time.

I have my favorite restaurants that I go to, and even coffee places that I go to. I also have “go to” food choices that I will pick at certain restaurants, because I know that the food item doesn’t come with packaging. One of the easiest places to go look for zero waste packaged food, is the grocery store; specifically, the deli section. Your menu is the entire deli.

At my local grocery store, I have a variety of different pre-mixed salad options, a variety of meal solutions, sandwiches, sushi rolls and wraps, soups, meat choices and cheese choices. There is also a section for fresh baked bread and fresh donuts, that’s also freshly made each morning. It’s a great place to search for a quick solution for dinner.

The good thing is, as long as you’re aware of this zero waste commitment, and you try to stick to making small changes, you are making a difference. The zero waste community is vast and continues to grow. Around the world, we are presenting our methods and solutions to our every day issues of plastic packaging, wasting resources, and the growing plastic pollution problem.

As long as we are conscious about what we choose, and how we choose to spend every dollar, we are telling our story of our commitment. We are telling our neighbors, our friends, or family that this is a problem that needs to be addressed.

Plastic Packaging In The Kitchen

07.08.2019

0600

Even when I buy items in glass jars because I can’t find a refillable version of it, I always end up with these plastic shrink bands. It seems that zero waste is never an absolute. Sometimes when I do buy produce that is free plastic packaging, I’ll still end up with rubber bands or twist ties. The good thing is I can actually reuse those items, but it’s preferred that I don’t have to.

Most of my dry goods are sold in bulk bins, so I am lucky that I have the privilege to buy package free dry goods from bulk items.

During the process of transitioning over to a zero waste lifestyle, I knew that I would end up giving up a lot of foods that I enjoyed. I personally love potato chips to snack on, but it was one thing I knew I had to give up, since the packaging wouldn’t fit my zero waste lifestyle. I gave up a lot of snacks such as packaged cookies, packaged crackers and packaged candy. There were alternatives to these packaged items, such as certain bulk options.

When I realized I had to give up certain foods, I also sought out alternative food substitutes. There are good substitutes out there, but sometimes, seeking out the alternatives require more work than expected. Once in awhile I will indulge in a packaged food, and then that packaging will get added to my pile of trash for that year. During my journey, I did come across a company called TerraCycle. They team up with certain companies who participate in different recycling programs with TerraCycle. These companies offer recycling programs through TerraCycle, in which customers who purchase their products, can join their recycling program, and send back the packaging to the company for free. It’s an option, and the program change frequently, so checking their website updates is helpful.

I’m extremely lucky to have local bulk grocery stores, who provide the option of bulk shopping, so I can continue this lifestyle. Only once in awhile, I’ll need an item and the glass jar will have the plastic shrink band on it. If I can, I try to only need and use items that are only sold in bulk.

How I Remove Labels On Glass Jars

04.23.2019

0600

Tools:

  1. Stove/microwave to heat up water
  2. Extra old toothbrush
  3. Extra cup wider than your jar/ stove top pot

Materials:

  1. One jar with label glue still stuck to it
  2. Dr. Bronner’s liquid soap
  3. Baking Soda
  4. Water

So I’ve read online about a few tricks of how people remove sticky labels off of glass jars. I’ve read about the method of using olive oil along with baking soda, and then there’s the method of heating up the glass and peeling off the label. I don’t like to use excess oil to clean, because when you wash off the jar, the oil can clog up your plumbing pipes, over time. I have tried to heat up my glass to peel off the label, but it doesn’t always peel off completely. There is one method I’ve stuck to for awhile, but I don’t see people posting about it. My method is pretty simple and it seems to work for me.

I will first peel off the label so that the only film left is the paper and glue. Some jars use a plastic/nylon label and some use paper labels. I like to get rid of the excess label before I start to remove the glue and label. By removing the extra thick layer of label, the jar cleaning process goes by quicker, without any hangups during the process.

After that, I find an extra cup that my jar will fit into. If you can’t find a jar, at least find a pot wide enough, where the jar can be placed horizontally, inside the pot and completely submerged under the water.

I then heat up water in my stove top kettle. I heat it up where the water is pretty hot to the touch, but not scalding hot. The water doesn’t need to be scalding hot to be honest. The idea here is that the water, mixed with the soap, will loosen up the glue.

I’ll then pour the heated water into the larger cup, in between the larger cup and the jar, and a little bit inside the jar. The heated water around the jar is to help loosen the glue off of the jar and the water inside the jar is to weigh it down. I pour enough water into the cup, so that the label and glue are submerged under the surface of the water.

I’ll then drop a few drops of Dr. Bronner’s Liquid Peppermint soap into the water around the jar. I’ll usually spin the jar in the cup a few times, so the liquid soap is distributed more evenly. The soap, mixed with the hot water will loosen up the glue.

After about 30 minutes, I’ll take the jar out of the soapy water. Please be careful, because your jar might still be very hot from being submerged in the water. If it is still too hot to handle, let it sit for a bit longer so the temperature of the water cools off . DO NOT run the hot glass jar under cold water to cool it down. This will likely lead to your glass jar cracking or exploding under the drastic temperature change.

NOTE: Glass expands when hot, contracts when cold. If the exterior surface of your glass jar cools, while the inside surface of your jar is still hot, that creates an uneven thermal profile.  As a result, the surface of your jar is trying to shrink, but the hot inner glass prevents the surface glass from shrinking. This creates a powerful stress profile through the glass — the surface is trying to shrink, but can’t, so it is forced into tension. The hot core is trying to stay the same volume, but the surface is squeezing in, so the core undergoes compression. It’s not hard to figure out which section of glass wins the tug-of-war — the surface fails first. And a crack grows out of some microscopic scratch or flaw, growing and spreading until the stress is sufficiently relieved or the glass is broken clean through. 

SO PLEASE DO NOT RUN COLD/COOL WATER OVER YOUR HOT JAR.

Once it is a bit cooler to the touch, I’ll use baking soda to scrub off the glue, using an old toothbrush. I’ll scrub in circular motion, and periodically dip the jar in the soapy water to rise it off as I scrub my way around the jar.

This method has worked for me, when I’ve needed to remove sticky labels off of glass jars.

Also remember, glue is not permanent on glass. So if you’re patient and allow the glue loosen up, and continue to scrub using the baking soda, than you’ll end up with a clean surface. Sometimes there might be a little bit of glue left, but just continue to scrub it off with the baking soda and soapy water.

This was a simple post, but it was a method that I realized I had never talked about, but always used. It’s just glue; it’s not permanent and it’ll come off.

Zero Waste Hallowen

10.24.2017

0600

Growing up Halloween has always been representative of dressing up and going out at night to trick-or-treat. As a kid, Halloween was a fun holiday for me because if all the free candy we would receive as we went out at night to go trick-or-treating. I didn’t grow up with much candy in my household so Halloween also meant that I would get to stock up on a large amount but I also had to ration my favorite candy pieces to last for awhile.

When I moved towards a zero waste lifestyle this holiday became slightly tricky. A lot of the joy I experienced came with the inevitable result of producing trash. All of the small wrappers of the individually wrapped candy pieces added up to a lot of trash. I wanted to figure out how to celebrate this holiday but still practice my zero waste lifestyle.

halloween-autumn-theme2.jpg

DSC_8108

There are three areas of each holiday I like to tackle: decorations, food and entertainment. For Halloween, you can decorate your spaces using

  • Reusable fall and Halloween decorations which you can pull out each year
  • Use dried leaves from trees in a bowl or a jar. I usually string rope across areas of rooms and I’ll hang  up the leaves using clothespins.
  • Use fresh fruit or vegetables as edible decor such as pumpkins and then once the holiday is over, you can even make delicious dishes using thm
  • You can arrange twigs and fall leaves in a vase
  • You can tie pieces of sticks together and create a wreath to decorate with colorful leaves
  • Any decoration that is compostable or reusable is a great option

2017-10-25.jpg

Food options can vary due to location, seasonal fruits and vegetables available.

  • Look for seasonal fruits and vegetable to make dishes with
    • Some seasonal vegetables to keep an eye out for:  pumpkins, winter squash, broccoli, spinach, lettuce, sweet potatoes
    • Some seasonal fruit to look for: cranberries, apples, pomegranates, and grapes
    • Search for recipes available on the internet for this seasonal favorite. Websites such as YouTube , Pinterest , All Recipes, Food Network, Better Homes and Gardens and Taste of Home. If you’re anything like me, my searches always start with “simple” in front of my topic because I tend to lean towards simple ingredients and fewer steps when making dishes.
  • Bulk candy is also a great way to sneak in sweets during this holiday. A lot of bulk candy locations have a variety of options from chocolates to sour candies. The grocery stores I frequent have these options but my local movie theater has the name brand candy in bulk, that I love to eat as well.

eco_recycled_paper_handy_mini_notebook_01__23169.1334848757.500.500


primary-crayon-boxes-box

For Trick-Or-Treaters, consider handing out non-candy options. I’m still a big believer in feeding a child’s creativity so some of these items on the list are geared more towards art than just toys. During this season, children are usually in school, so if you hand out items they can use during school, it’ll also benefit the children. Here are some options other than candy, that you can hand out:

  • Crayons
  • Bouncy Balls
  • Play Doh
  • Coloring books
  • Mini notepads
  • Halloween Pencils
  • Mini slinkies
  • Bookmarks Pencils
  • Halloween Erasers
  • Hand out mini packets of herb seeds
  • Loose change such as dimes and quarters
  • Decks of playing cards
  • Compostable packaged snacks (crackers, raisins, pretzels, etc.)

2016-04-08 13.05.09

Entertainment can vary depending on what you have planned during Halloween.

  • Costumes
    • Check out costume rental stores, they always have a lot of variety and sizes to choose from, but remember to to check the stores early so there are more options available
    • Check out thrift stores for options of clothing to create your costume from
    • For families, check if you can swap costumes with neighbors, classmates or friends. You can even set up a costume swap meet if that helps get the word out.
    • Borrow clothes and items from friends, family or neighbors to see if you can assemble your costume and look of your character
  • Movies
  • Karaoke
  • Board Games or Card Games

Check out these other blog posts from some other Eco-Sustainable Bloggers:

I hope this list is helpful in creating a zero waste Halloween. If you choose to adopt only one of these ideas, you’re still helping the environment by creating less waste. It’s a step away from the standard Halloween traditions but it’s a more environmentally friendly outline for this holiday. Have a great Halloween!

Use What You Have


12.20.2016

0800

dsc_5217

dsc_5263dsc_5265

“Why I don’t recommend a lot of separate items…”

You’re looking at everything I own in my kitchen. That’s all of it, although my silverware and kitchen tools aren’t pictured. Some kitchen items are marketed to have specific uses, but you’d be surprised at how many kitchen items can have multiple uses and how some kitchen tools really aren’t necessary at all. Even when it coms to bathroom items, I don’t have a separate soap for my body and my face (I use separate bars… but it’s still the same bar soap brand). I use baking soda as toothpaste and I don’t use band aids (I use paper tape with gauze).

For those of you who are moving into this lifestyle, I understand the need to buy compostable cotton swabs or a bamboo set of utensils to carry around, instead of grabbing a set from your existing silverware. In order to transition to this zero waste lifestyle, you’re altering your behavior that you’d developed for however many years you’ve existed on Earth.

However, I don’t recommend buying into the “buy all new things because nothing else can substitute it” mantra. The likelihood is that you already have items that you can use, but for different purposes and the transition is simply altering your behavior and mindset. I understand the novelty behind this zero waste movement, but a lot of the times, I’ve noticed that a few bloggers will recommend a lot of new items. Part of this movement is to try to NOT create waste and when you buy more stuff, more than likely you’re producing some form of waste.

For kids, I understand that it make take a few colors and some ownership of their personal products so they can personally take part in this movement or to break away from what they already like and know. Also, a lot of glass and stainless steel items  may be to heavy for them to carry around, or that they may not be careful enough to take care of such items. For adults however, I think we should really try to  create as many uses for a single product, as much as possible. Products that are designed for a specific use and a certain function, will likely not be as versatile for any other use.

Here are some of the items you don’t necessarily have to buy:

  1. Handkerchief –> Use existing fabric napkin or you can make your own from old pillowcases (just try to make sure the material is 100% cotton)
  2. Cloth napkin in  your “To Go Lunch Kit” –> Use existing fabric napkin
  3. Silverware in  your “To Go Lunch Kit”–> Use existing silverware (unless you’re going to pass through TSA [Transportation Security Administration] at the airport or some kind of security metal detector, then carry around a set of bamboo utensils)
  4. Eco lunchbox –> Use existing Tupperware
  5. Placemats –> Make your own from old bed sheets or pillowcases (Just remember to layer them up so it’s a thicker pile)
  6. Re-useable Produce Bags –> Make our own re-useable produce bags from old bed sheets and pillow cases (just make sure it’s cotton, with a decent thread count so it won’t fall apart as easily.)
  7. Spice Jars –> Just re-use the space jars you already own (remember to tare the weight before you refill it up. I usually carve the weight into the lid so I never forget)

This list could go on and on, but I’m keeping in mind that each person has a different journey on this path of zero waste. But if you can, reuse what you already own, there’s no point to wasting your money if it’s not necessary. Also, the more stuff you buy and if you’re not purging items in your home, you’re essentially just adding to the amount of possessions you’ll now be responsible for. So don’t give yourself more work, seriously… life will do that down the line… apparently it’s plentiful.. like pens.. stupid free pens.

Weekly And Daily Errands To Run


09.14.2016

0800

DSC_4736

DSC_4739

When it comes to errands, I actually don’t have to0 do much. I don’t have daily errands, mostly because I work long hours and prefer to go home and relax. For my weekly errands, I do buy groceries each week, but mostly the fresh produce items. I’ll stock up on my bulk dry foods maybe once every 3 weeks. I prefer to completely run out of my bulk foods before I go and buy more- this way, I can refill my jars completely.
For fresh produce, I’ll buy local and seasonal items because I know that I’m supporting local businesses, and that the produce didn’t have to travel far to get its destination.
When it comes to my bathroom bulk items, I tend to buy those items once every three months. Because I buy large quantities when I go on each run, I don’t need to make frequent trips. The task of running out of bathroom items is an issue I absolutely dislike dealing with. It’s the reason why I would stock up on items in the past, which also ended up producing even more trash. Now, I simply look under my  bathroom sink and my jars are already full and waiting to be used. My jars also tend to hold more product compared to the bottles I used to buy, so each time I pull out a jar to use, I know that it will last awhile.

This is a simple list of what my typical weekly grocery run might look like:

  1. Breakfast: Oatmeal, cranberries, flaxseed, almonds, cinnamon, green tea, coffee, cane sugar, Straus Half & Half
  2. Lunch: romaine lettuce, tomatoes, onions, balsamic vinegar
  3. Dinner: bread, mustard, potatoes, green onions, broccoli, green beans, cauliflower
  4. Snacks: Bulk bins, Seasonal Fruit (eat skin if possible.)

For less frequent bulk bathroom shopping list, I tend to buy:

  1. Bulk soap bars
  2. Bulk face lotion
  3. Bulk body lotion
  4. Bulk Dr. Bronner’s Liquid Peppermint Soap
  5. Baking soda
  6. White Vinegar

For my more frequent bulk bathroom shopping items, I’ll buy

  1. Toothbrushes
  2. Dental Floss
  3. Face Sunscreen Lotion

Zero Waste Coffee Routine


09.05.2016

0800

DSC_4737

I have a morning routine of drinking coffee and I enjoy it even more knowing that I buy my items in bulk without producing trash. I buy bulk coffee from Sprout’s Farmers Market, Whole Foods or Philz Coffee. I also buy bulk cane sugar from either Sprouts Market or Whole Foods as well. I then will purchase Organic Half & Half from Straus Family Creamery from Whole Foods Market, which I clean out and return to receive a voucher.

It’s a simple routine, but I do enjoy the simplicity of it. It’s also an easy clean up job which afterwards, I add the coffee grounds to my compost pile.

Zero Waste Picnic


08.24.2016

0800

DSC_4747

The weather had been nice lately so I thought a picnic was in order before the summer ended. I didn’t pack too much, just enough to fill us up for a bit, but here is what I packed:

  1. Dish: Bean Salad
  2. Side Dish: Boiled potatoes with Nutritional Yeast
  3. Snacks: Wasabi Peas, Smoked Almonds, Olives
  4. Dessert: Peaches
  5. Drinks: Water

Whenever I go out on an outing, I like to pack some snacks so I won’t get hungry later on. Picnics are always a fun way to spend with family, friends, or new friends. Picnics are great when the weather is sunny and cool in temperature and there’s a clean area to set up camp. On this day, I packed a bean salad and boiled potatoes sprinkled with nutritional yeast as the main dishes. I also had some olives from the olive bar from Whole Foods. For snacks we had wasabi peas and smoked almonds and for dessert, we had some peaches.

All of the foods were purchased from the bulk section of the grocery store or in the non-packaged vegetables and fruit area. We used beach towels to sit on and to use the picnic blanket and because I forgot the plates, we ate off of the lids. Of course we ate all of the food so the ‘no plate’ rule wasn’t so bad.

Food And Bath Storage Containers

04.11.2016

0800

When it comes to using reusable containers to buy or store food in, it became a challenge due to the fact that bulk foods come in a variety of textures and consistencies. After a few trials, I finally found what work and did not work and I came up with these solutions.

32 oz Ball Quart Jar, Wide Mouth:

I use these jars to store my liquids in, and when I say “liquid”, I’m talking about Dr. Bronner’s Peppermint liquid soap. Because those liquids are quite viscous, these jars are easy to fill and clean out when needed.


DSC_6232

Ball mason Jars:

I use ’16 oz, Ball Canning Jars, Regular Mouth with Lids’ for bulk seasonings such as sea salt, peppercorn, flax seed, honey and almond butter. I  also use these jars for my bulk bathroom products such as my face lotion and body lotion. These jars are great due to the fact that they’re designed to handle wet ingredients over time, and they can also be used for canning as well. You can read more about Ball and the history of the company and their products, click HERE.

I also fill up my mason jars with olive oil, balsamic vinegar and fresh almond butter. In the beginning of this journey when I first started buying bulk liquids, I noticed it was easier to just fill up the mason jars and then just put them away when I got home. I know it doesn’t “look” ideal, but to transfer the liquids into tall and skinny bottles like my Dr. Bronner’s Liquid Soap, is one extra step I prefer not to take.

DSC_4174

DSC_6237.JPG

I also love using Bormioli Rocco Fido Jars for containing my other bulk foods. I use the 1 Liter jars for bulk teas and a variety of snacks and the 1.5 Liter jars for larger supplies of bulk ingredients such as nuts, whole wheat flour, cane sugar, cranberries, mini peanut butter cups and other bulk snacks. I use the 2 Liter jars for dried beans, baking soda and coffee. For my largest bulk items such as brown rice and oatmeal, I use the 4 Liter jars. One of the websites I follow suggests to use these types of jars for wet ingredients, but I’ve noticed that the gasket that comes with these types of jars, absorbs odors and stains easily. If you prefer to stick to only one type of jar design, then I say go for it. However, odors are a nitpicky tick of mine. It just seems strange to me to open a jar almonds and smell lotion, or when you open the jar with cane sugar and you smell balsamic vinegar. By using the jars for dry ingredients, I can switch out my bulk supplies and not worry about leftover odor from a previous use.

When I first researched on different types of canning jars with hermetic seals, a few different brand names popped up such as Le Parfait, Kilner and Bormioli. The reason why I chose Bormioli was because of their design structure for their jars. Most of the jars I researched on are designed with a round base, which actually wastes space. Bormioli uses a square shape base which utilizes shelf space and will organize easily next to one another. Bormioli has a long history of creating quality glassware while using high quality materials. You can read more about their history here Bormioli Rocco USA.

DSC_4175DSC_4176DSC_4177DSC_4179

I also use PYREX tupperware to contain items I find at the grocery store salad bar, but I also use these to store my lunches to bring to work. I did bring the 1 cup, 2 cup and 4 cup bowls to the grocery store to carve their tare weight into the lids, because I knew I would use them eventually. It did feel a little strange at first, lugging around glass tupperware, but using the PYREX bowls was essentially the same as using one of the grocery store disposable paper containers. I knew that my extra effort would count in a small way- in the long run. At the salad bar, I’ll fill up my PYREX bowls with olives from the olive bar, hummus, potato salad and anything else I feel like indulging in.

I really like PYREX because it’s made of tempered glass and it’s easy to clean, store and you can use these to cook in toaster ovens as well as larger ovens.

DSC_4181

For my spices, it is a collection of many types of seasoning jars I’ve collected over time. I did buy a set of seasoning jars, and those are on the bottom row. I initially did this to test out how to go about recording the tare weight as well as how to fill them up. However, it did seem simpler to just reuse the rest of my seasoning jars. They do all have different tare weights and I carved each tare into each lid. I do suggest to use screw cap seasoning bottles as they are quite secure when closed correctly.

DSC_4178

I hope this post clears up how I go about organizing and designating my bulk items per container. I honestly wished I had read about some type of reasoning and method before I started my journey because a few mistakes were made along my journey. However, now that I have figured out my system, I wanted to share it with you. So happy bulk shopping and I hope trips to the bulk sections are more efficient for you.

Bulk Bathroom Shopping Kit

03.30.2016

0830

DSC_3947

My bulk bathroom shopping kit consists of mason jars and cloth bags. Buying bulk bathroom products is probably one of my favorite  shopping trips that I take. This is also due to the fact that I genuinely like bathroom designs. I think the bathroom is essential in how comfortable I feel in a home or apartment. The bathroom is a place where we clean ourselves, we have privacy and it’s where we can relax. My bathroom is very simple so it doesn’t have a lot of stuff on the countertop, in the drawers or even in the medicine cabinet. However, when I step into my bathroom, the tile feels smooth and warm and the space is clean.

DSC_3948

I fill up my 1 Pint Mason Jars with Dr. Bronner’s Peppermint soap and due to its concentration, I actually will dilute it in a small Pyrex bowl when I use it. I use this liquid Dr. Bronner’s soap to clean my sinks, bathtub, toilet, as pet shampoo and even wash dishes. It is an amazingly versatile soap that is mostly eco friendly. I also stock up on Alaffia’s GOOD soaps. I personally prefer the Lavender (white) and Prairie Rose (Pink) scents, but they have seven scents to choose from. I really like using Alaffia’s GOOD soap as body wash and face wash, and their ingredients are openly listed online. If you want to read about them, you can go to Alaffia: Fostering a Body of People and there will be a PDF download to the list of ingredients in their GOOD soaps for each scent.

DSC_3953

I stock up on face lotion and body lotion when I go bathroom bulk shopping too. I tend to carve the tare weight into the lids of my mason jars (using the point of a pair of scissors, be very careful if you decide to carve the tare weights into the lids) so that I never forget their weight. When I do fill up each bottle and write the PLU (product look up) codes, I’ll also write which lotion is for my face and which is for my body. (Notice the PLU codes are the same) Lucky for me, I tend to buy white colored bathroom products so I always have to jot down “Face vs. Body”.  Although if you do forget to write down “Face” or “Body” the consistency of each type of lotion is also a dead give away. My face lotion is more chalky and is not as viscous as my body lotion so if I ever accidentally apply one versus the other on the wrong area, I’ll notice it eventually.

DSC_3955

Also, if you want to ever keep track of how much you spend or use your products, I suggest you keep your receipts or create a graph to track your spending. I know this sounds a bit unorthodox, but I did this for awhile and I saw how much I saved. If you want to buy only Dr. Bronner’s Bar Soaps, or do not have access to a bulk location that sells Dr. Bronner’s Liquid Soap, this link might be helpful, How to Make a Gallon of Liquid Handsoap From a Bar of Soap. I did try this method and it worked. This is also why I included the Ball Gallon Jar in my store tab, under the Kitchen category as well as Dr. Bronner’s Soap Bars.

This is an overall view of what I bring to go bulk bathroom shopping and these items seem to help me in my shopping haul. I hope these items give you an idea of what containers you can use for your bathroom shopping haul. The overall savings of buying bathroom products in bulk will show over time, and I’m personally glad I switched to buying my products in this way.

*UPDATE- 06.16.2017- I no longer use Olive Oil Dispensers – Square Tall Glass Oil Bottle and Stainless Steel Pourer Spout to contain my bulk liquid soap, but instead I now use Ball Quart Jar, Wide Mouth, 32 oz. These jars are easier to clean and they’re much more sturdy in terms of glass design.

DSC_6232.JPG

Bulk Grocery Shopping Kit

03.21.2016

0900

DSC_3715

When it comes to grocery shopping, there needs to be an organized system of how you go about gathering your items. Pre-packaged food gave me this convenience when I hadn’t started on my journey to a zero waste lifestyle, so I had to break down what jars and bags I was going to use for bulk shopping.

My bulk grocery shopping kit consists of cloth drawstring bags, Ball mason jars, Bormioli Rocco Fido Jars and my Lyra Aqua Color Water-Soluble Wax Crayons. I use the mason jars for liquid bulk food such as almond butter, honey, Bragg’s Liquid Amnios and balsamic vinegar. These jars are great for liquids due to the fact that there is very little left over odor from previous products when you need to use the jars for something else. I tried using the  Bormioli Rocco Fido Jars, but the gasket on those jars absorb odor quite a bit and they stain as well. For the fine grain bulk foods like wheat flour, cane sugar and sea salt, I use the Bormioli Rocco Fido Jars so that the transfer from my grocery bag to my shelf is much simpler. (I literally just move the jar from my grocery bag to my shelf- yea, unpacking after grocery store trips is that fast). The jars are also great for storing snacks from the trail mix bins section. If the jars are too heavy to bring to the grocery store, then the bags will still be fine to use. The drawstring bags are used for the rest of bulk grocery shopping as well as fruits and vegetables.

DSC_3717
DSC_3716

When you use the mason jars and the fido jars, make sure you tare the weight of the jars before filling them up. For the mason jars, I usually carve the tare weight into the lid of the jar and for the fido jars, I’ll write the tare weight on the inside of the gasket so that the cashier can see the weight through the lid. I write the PLU (price look up) code and the initials of the bulk food on the lid with the water soluble crayons. I write the initials alongside the PLU code because products with the same consistency and color can be mixed up (ie. balsamic vinegar and liquid amnios). I hope my bulk grocery shopping kit helps in prepping your grocery shopping kit. If you have any questions, I’m more than willing to answer them.

DSC_3984

Seven Tips To Begin A Zero Waste Life

03.14.2016

0800

2016-03-02 15.52.10
2016-03-02 15.51.45

When I first began this journey to live a zero waste lifestyle, although there always seemed to be a list of tasks that I would end up doing; I wish there was a list of things I needed to do in sequential order. There was a lot of backtracking as well as re-organizing when it came down to the sequence in which I should have gone about starting this journey. Because this journey also is adjusted to each person’s lifestyle, my system was not refined for a couple of months. I still wished someone could have informed me about what to do first verses my assumption that the first task was to get rid of all products packaged in plastic.

  1. Begin by making bags from old bed sheets and extra rope/shoelace.
    1. These bags can be different sizes. I made mine into 2 different sizes. Take those bags and weigh them at a store so you can record the tare weight onto each bag. If you narrow down your bags sizes, it’s easier to input the tare the weight and when you shop and you won’t be fluctuating between a variety of numbers. It will be easier on you and the cashier as well.
    2. These bags will also become useful once you start cleaning out your life. Since you’ll most likely be donating or eliminating items from your life, the areas that you’re cleaning out will most likely need something to separate your items in. And these bags will also help in the beginning of your journey into bulk shopping (which takes care of that pesky task of eating to survive).
  2. Sort out your products that are contained in plastic or wasteful packaging.
    1. It’s easier to separate products by room and by use, so go slowly. Then go through and reduce the amount of products.
    2. If you can’t eliminate a product completely, you know that the next tasks is to find an alternative; that alternative also needs to be a zero waste alternative. Unfortunately, that’s also one of the tricky tasks during this journey. Some people may need certain products due to medical reasons or health conditions, so these products take a little bit more time to eliminate and more research as well. Make sure you choose the best solution for yourself.
  3. Invest in jars. I invested in Bormioli Rocco Fido jars as well as Mason jars.
    1. These jars will help you organize your items that need a more sturdy container as well as assist you on your journey in bulk shopping. Food packaging is one of the most wasteful habits we have adapted to, so by investing in these jars, you’re already preparing yourself to take care of the easiest problem.
    2. Also, when you start bringing these jars to the grocery store, make sure you ask the cashier to tare the weight before you fill it. For the Mason jars, I actually carve the tare weight into the lid and for the Bormioli Rocco Fido jars, I write the tare weight on the gasket rim so that the cashier can see the tare weight through the lid.
  4. Go to the local bulk grocery stores near you and find what’s available in their bulk section.
    1. Check out what they sell in their bath and body bulk section as well as the bulk food area. By doing this, you can create a list of ingredients and products that you know are available to you.
  5. Reduce and donate
    1. Although the idea of “tossing out everything” sounds simple, it really isn’t. It takes time and effort. To go from owning a lot of items that you have accumulated in your lifetime, to owning three items is not easy. It takes a lot of evaluation and re-evaluating your routines and habits to adjust to the limited amount of items you now own. The easiest way I knew how to attack this task was to simply ask “Do I need it or do I want it? If I need it, what’s an alternative to it that would not produce waste?”
    2. In time, you’ll notice that perhaps items that you thought you wouldn’t be able to let go of, you can. This process of eliminating and reducing the amount of items in your life changes the way you approach possessions as well as products. It will take time, so be patient with yourself- but always strive to be completely zero waste.
  6. Start a compost.
    1. With all of the bulk items you’re going to buy, I very much suggest starting a compost. If you don’t have enough land to start a compost, look into city programs that may offer something similar. You can even search for local businesses that might be willing to take your compost or buy it.
  7. Opt out of junk mail and use the mail pieces that do get through as scratch paper.
    1. This is an easy task. I used Catalog Choice and Direct Marketing Association Choice which offer a mail preference service for consumers. Granted, the list of magazines and newsletters I have opted out of on both of my accounts are not short. I had to input quite a bit of organizations and businesses, but it’s well worth it in the end.
2016-03-02 15.56.36
2016-03-02 15.41.30

I hope this list helps those of you who are starting out on your own zero waste life journey. I know it wasn’t a simple and short type of list, where I only listed tasks to do in a bullet point format. I wanted to explain why I chose these seven items to anchor the beginning of the journey for zero waste newbies. Good luck to all and if you have any questions, please email me, my email is in my about section of this website. Also if you want to see what items I have purchased, please check out my store link.

DIY Reusable Cloth Produce Bags

03.07.2016

0800

DSC_3987

Materials:

  • Bedding flat and fitted sheets
  • Bedding pillowcases
  • Shoelace/rope to use as drawstrings for the bags

Tools:

  • Sewing machine
  • Sewing kit

I use old bed sheets and old pillowcases to make produce bags with drawstrings to close the top openings. For this project, I used four pillowcases and two bed sheets. The weight of each piece of sheet varies in thickness, so I know that the tare weight will differ. This project does take a little bit of time, but the payout is immensely satisfying.

To size them up, I first divided a pillow case into quarters and I use extra shoelaces to make the drawstrings. I like to have at least two different sized bags so that I can use one size for my staple bulk shopping and the others to be used for standard bulk shopping. The pillowcase that will be divided into quarters would be the smaller size and I would half another pillowcase to be the larger bag template. I only need four large bags so the rest will be the standard bulk bag size.

The easiest and quickest way to finish this project in a short amount of time is to first measure out the size of each fabric piece, but measure out the pieces so that the fold of the fabric will be on the left or right side of the rectangular template. The reason why I recommend this is that when you sew, you can make one continuous stitch line without ending. If you create the fold of the fabric on the bottom, you have to sew both sides with separate stitch lines. Understandably, if you end up with very linear fabric pieces once you measure out your sheets, having two stitch lines will be inevitable. Keep in mind, the top is left alone for the drawstring pocket.

I usually measure the pocket for the drawstring at 1/2″ width and I pin it in place using ball head straight pins. I then sew the pocket for the drawstring and leave the ends open for the drawstring to be fed through. Then for each fabric piece, I fold the opening edge and bottom edge in about 1/2″ and pin it with a few ball head straight pins. You can also fold this hem over once more to secure the hem as well. Once all of the bags are sewn, I tie off all of the thread ends so that the ends don’t dangle and get caught up in the washing machine. Then I take each bag and feed the drawstrings through each pocket using a small safety pin. Once the drawstrings are fed through their pockets, I tie off the ends so that the drawstring won’t slip out.

Because I measured out my fabric into two basic sizes, I take one bag of each fabric type and size and bring it to the grocery store to record the tare weight. My tare weight for my standard bulk bag is 0.07 lbs and for the larger bag it’s 0.12 lbs. I usually write my tare weight towards the top of the bags due to the fact that cashiers tend to look for twist ties there. However, don’t write the tare weight too close to the very top of the bag, being that once you close the bag opening with the drawstring, the writing gets somewhat lost in the folds of the bag.  I usually write the tare weight about 3″ from the top of my bags. I use LYRA Aqua Color Water-Soluble Wax Crayons to write on my bags and I bring them with me to record the PLU codes (Price Look Up codes) right on the bags.

From the four pillowcases and two bed sheets I used in this project, I made 57 bags. I also made two tiny little bags from the leftover fabric pieces, because I really didn’t want to add it to my trash bin. I hope this post helps for those who are looking to make your own produce bags. This was a two day project and although I was exhausted after finishing it, I was beyond ecstatic when these bags were put to use. These bags are used everywhere around my house from using them for lunch bags, to containing my cat’s toys and even using them in the kitchen to keep items organized. So utilize that sewing machine and I hope you enjoy your new DIY bags as much as I do.

DSC_4006

DSC_3994

DSC_3995

DSC_4015