How I Remove Labels On Glass Jars

04.23.2019

0600

Tools:

  1. Stove/microwave to heat up water
  2. Extra old toothbrush
  3. Extra cup wider than your jar/ stove top pot

Materials:

  1. One jar with label glue still stuck to it
  2. Dr. Bronner’s liquid soap
  3. Baking Soda
  4. Water

So I’ve read online about a few tricks of how people remove sticky labels off of glass jars. I’ve read about the method of using olive oil along with baking soda, and then there’s the method of heating up the glass and peeling off the label. I don’t like to use excess oil to clean, because when you wash off the jar, the oil can clog up your plumbing pipes, over time. I have tried to heat up my glass to peel off the label, but it doesn’t always peel off completely. There is one method I’ve stuck to for awhile, but I don’t see people posting about it. My method is pretty simple and it seems to work for me.

I will first peel off the label so that the only film left is the paper and glue. Some jars use a plastic/nylon label and some use paper labels. I like to get rid of the excess label before I start to remove the glue and label. By removing the extra thick layer of label, the jar cleaning process goes by quicker, without any hangups during the process.

After that, I find an extra cup that my jar will fit into. If you can’t find a jar, at least find a pot wide enough, where the jar can be placed horizontally, inside the pot and completely submerged under the water.

I then heat up water in my stove top kettle. I heat it up where the water is pretty hot to the touch, but not scalding hot. The water doesn’t need to be scalding hot to be honest. The idea here is that the water, mixed with the soap, will loosen up the glue.

I’ll then pour the heated water into the larger cup, in between the larger cup and the jar, and a little bit inside the jar. The heated water around the jar is to help loosen the glue off of the jar and the water inside the jar is to weigh it down. I pour enough water into the cup, so that the label and glue are submerged under the surface of the water.

I’ll then drop a few drops of Dr. Bronner’s Liquid Peppermint soap into the water around the jar. I’ll usually spin the jar in the cup a few times, so the liquid soap is distributed more evenly. The soap, mixed with the hot water will loosen up the glue.

After about 30 minutes, I’ll take the jar out of the soapy water. Please be careful, because your jar might still be very hot from being submerged in the water. If it is still too hot to handle, let it sit for a bit longer so the temperature of the water cools off . DO NOT run the hot glass jar under cold water to cool it down. This will likely lead to your glass jar cracking or exploding under the drastic temperature change.

NOTE: Glass expands when hot, contracts when cold. If the exterior surface of your glass jar cools, while the inside surface of your jar is still hot, that creates an uneven thermal profile.  As a result, the surface of your jar is trying to shrink, but the hot inner glass prevents the surface glass from shrinking. This creates a powerful stress profile through the glass — the surface is trying to shrink, but can’t, so it is forced into tension. The hot core is trying to stay the same volume, but the surface is squeezing in, so the core undergoes compression. It’s not hard to figure out which section of glass wins the tug-of-war — the surface fails first. And a crack grows out of some microscopic scratch or flaw, growing and spreading until the stress is sufficiently relieved or the glass is broken clean through. 

SO PLEASE DO NOT RUN COLD/COOL WATER OVER YOUR HOT JAR.

Once it is a bit cooler to the touch, I’ll use baking soda to scrub off the glue, using an old toothbrush. I’ll scrub in circular motion, and periodically dip the jar in the soapy water to rise it off as I scrub my way around the jar.

This method has worked for me, when I’ve needed to remove sticky labels off of glass jars.

Also remember, glue is not permanent on glass. So if you’re patient and allow the glue loosen up, and continue to scrub using the baking soda, than you’ll end up with a clean surface. Sometimes there might be a little bit of glue left, but just continue to scrub it off with the baking soda and soapy water.

This was a simple post, but it was a method that I realized I had never talked about, but always used. It’s just glue; it’s not permanent and it’ll come off.

Food And Bath Storage Containers

04.11.2016

0800

When it comes to using reusable containers to buy or store food in, it became a challenge due to the fact that bulk foods come in a variety of textures and consistencies. After a few trials, I finally found what work and did not work and I came up with these solutions.

32 oz Ball Quart Jar, Wide Mouth:

I use these jars to store my liquids in, and when I say “liquid”, I’m talking about Dr. Bronner’s Peppermint liquid soap. Because those liquids are quite viscous, these jars are easy to fill and clean out when needed.


DSC_6232

Ball mason Jars:

I use ’16 oz, Ball Canning Jars, Regular Mouth with Lids’ for bulk seasonings such as sea salt, peppercorn, flax seed, honey and almond butter. I  also use these jars for my bulk bathroom products such as my face lotion and body lotion. These jars are great due to the fact that they’re designed to handle wet ingredients over time, and they can also be used for canning as well. You can read more about Ball and the history of the company and their products, click HERE.

I also fill up my mason jars with olive oil, balsamic vinegar and fresh almond butter. In the beginning of this journey when I first started buying bulk liquids, I noticed it was easier to just fill up the mason jars and then just put them away when I got home. I know it doesn’t “look” ideal, but to transfer the liquids into tall and skinny bottles like my Dr. Bronner’s Liquid Soap, is one extra step I prefer not to take.

DSC_4174

DSC_6237.JPG

I also love using Bormioli Rocco Fido Jars for containing my other bulk foods. I use the 1 Liter jars for bulk teas and a variety of snacks and the 1.5 Liter jars for larger supplies of bulk ingredients such as nuts, whole wheat flour, cane sugar, cranberries, mini peanut butter cups and other bulk snacks. I use the 2 Liter jars for dried beans, baking soda and coffee. For my largest bulk items such as brown rice and oatmeal, I use the 4 Liter jars. One of the websites I follow suggests to use these types of jars for wet ingredients, but I’ve noticed that the gasket that comes with these types of jars, absorbs odors and stains easily. If you prefer to stick to only one type of jar design, then I say go for it. However, odors are a nitpicky tick of mine. It just seems strange to me to open a jar almonds and smell lotion, or when you open the jar with cane sugar and you smell balsamic vinegar. By using the jars for dry ingredients, I can switch out my bulk supplies and not worry about leftover odor from a previous use.

When I first researched on different types of canning jars with hermetic seals, a few different brand names popped up such as Le Parfait, Kilner and Bormioli. The reason why I chose Bormioli was because of their design structure for their jars. Most of the jars I researched on are designed with a round base, which actually wastes space. Bormioli uses a square shape base which utilizes shelf space and will organize easily next to one another. Bormioli has a long history of creating quality glassware while using high quality materials. You can read more about their history here Bormioli Rocco USA.

DSC_4175DSC_4176DSC_4177DSC_4179

I also use PYREX tupperware to contain items I find at the grocery store salad bar, but I also use these to store my lunches to bring to work. I did bring the 1 cup, 2 cup and 4 cup bowls to the grocery store to carve their tare weight into the lids, because I knew I would use them eventually. It did feel a little strange at first, lugging around glass tupperware, but using the PYREX bowls was essentially the same as using one of the grocery store disposable paper containers. I knew that my extra effort would count in a small way- in the long run. At the salad bar, I’ll fill up my PYREX bowls with olives from the olive bar, hummus, potato salad and anything else I feel like indulging in.

I really like PYREX because it’s made of tempered glass and it’s easy to clean, store and you can use these to cook in toaster ovens as well as larger ovens.

DSC_4181

For my spices, it is a collection of many types of seasoning jars I’ve collected over time. I did buy a set of seasoning jars, and those are on the bottom row. I initially did this to test out how to go about recording the tare weight as well as how to fill them up. However, it did seem simpler to just reuse the rest of my seasoning jars. They do all have different tare weights and I carved each tare into each lid. I do suggest to use screw cap seasoning bottles as they are quite secure when closed correctly.

DSC_4178

I hope this post clears up how I go about organizing and designating my bulk items per container. I honestly wished I had read about some type of reasoning and method before I started my journey because a few mistakes were made along my journey. However, now that I have figured out my system, I wanted to share it with you. So happy bulk shopping and I hope trips to the bulk sections are more efficient for you.

Bulk Grocery Shopping Kit

03.21.2016

0900

DSC_3715

When it comes to grocery shopping, there needs to be an organized system of how you go about gathering your items. Pre-packaged food gave me this convenience when I hadn’t started on my journey to a zero waste lifestyle, so I had to break down what jars and bags I was going to use for bulk shopping.

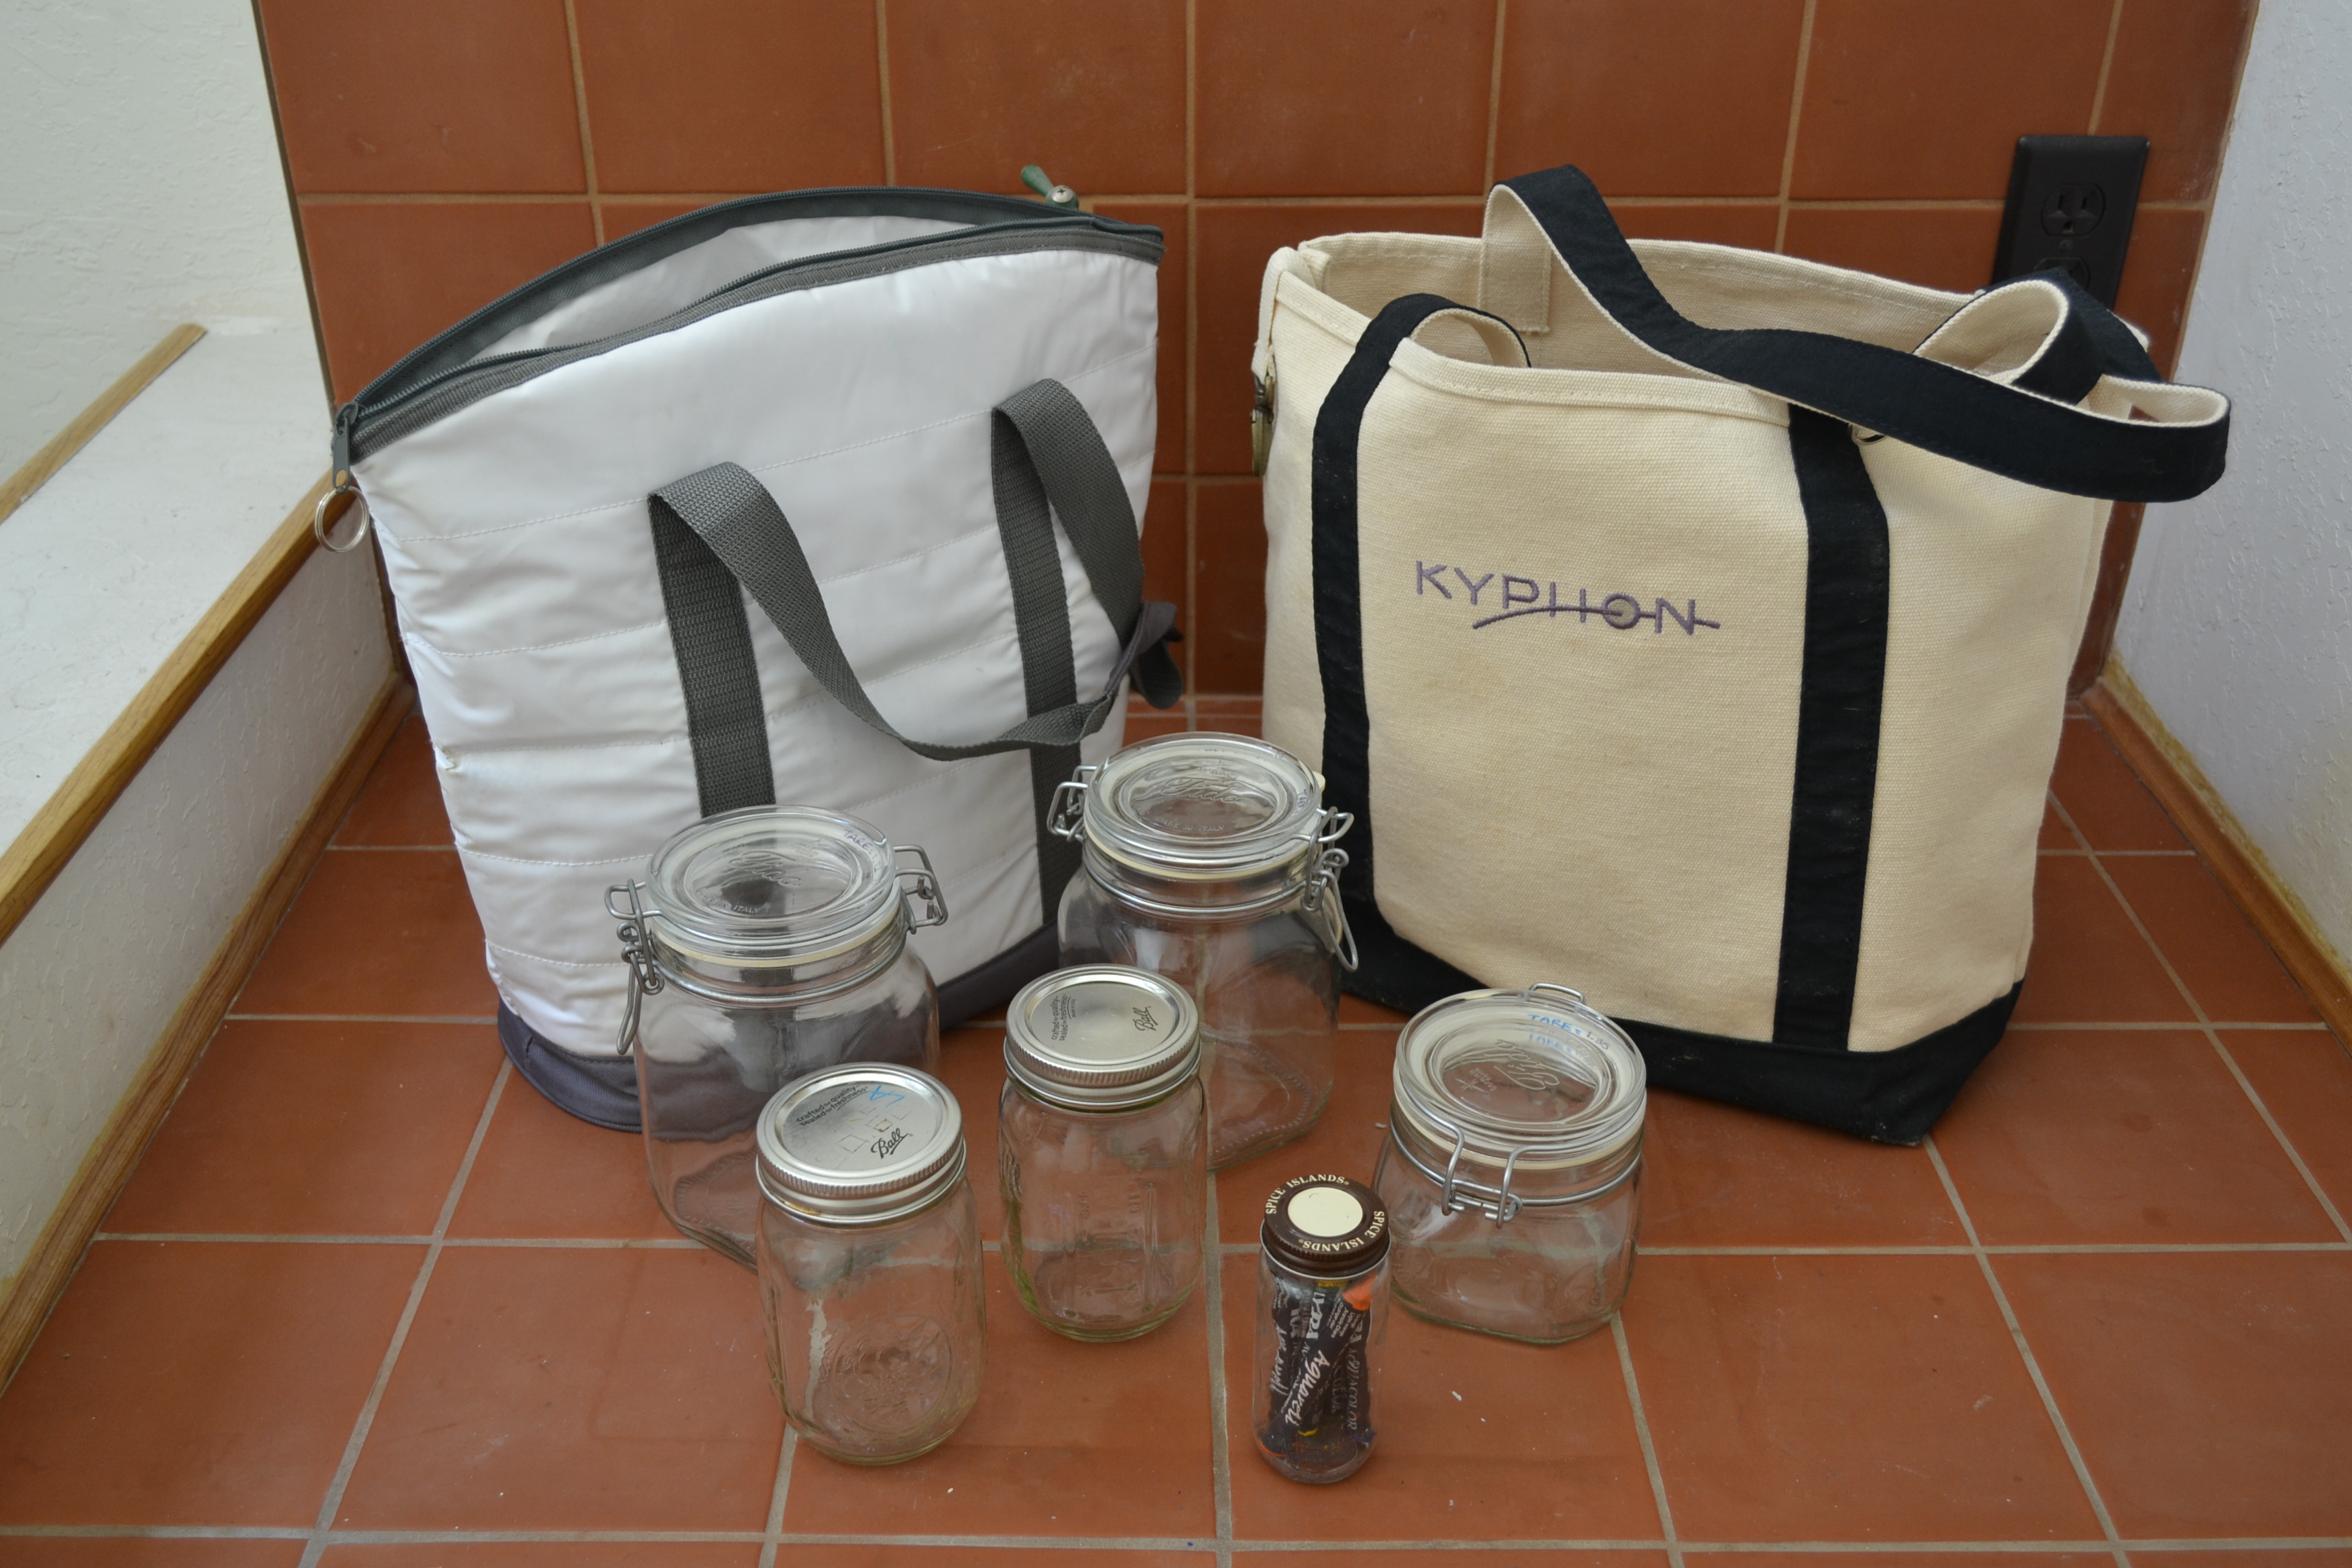
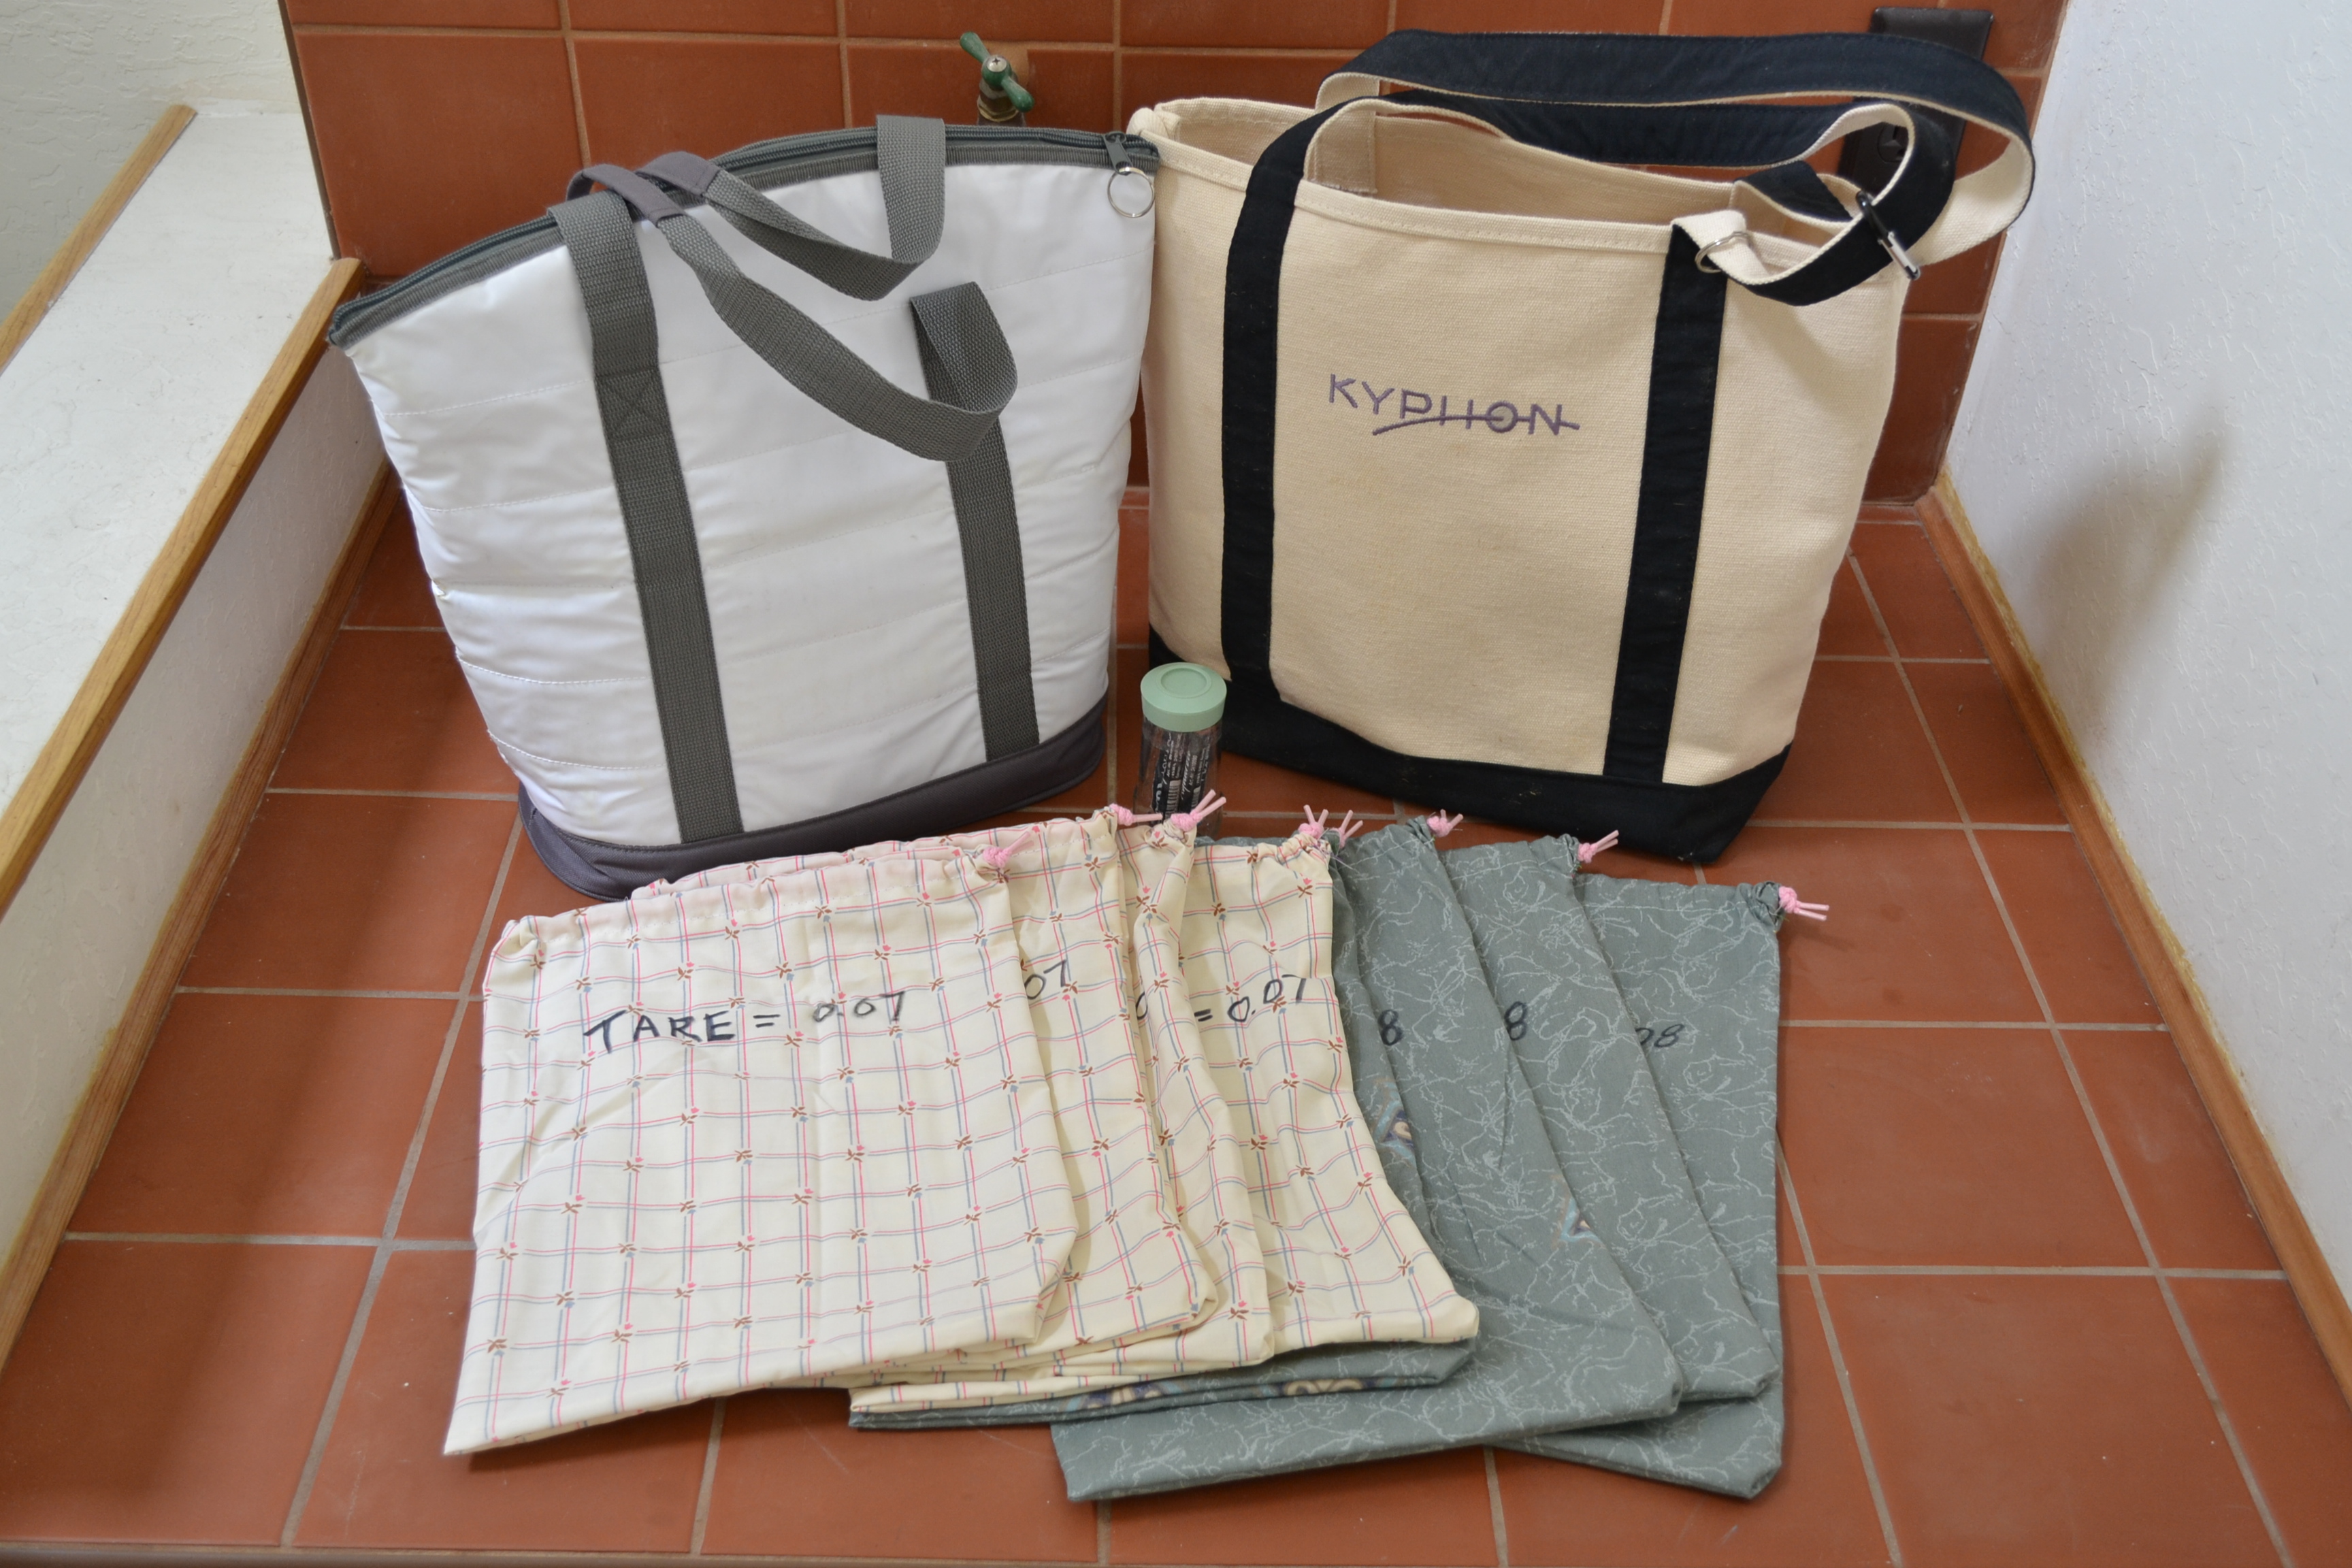
My bulk grocery shopping kit consists of cloth drawstring bags, Ball mason jars, Bormioli Rocco Fido Jars and my Lyra Aqua Color Water-Soluble Wax Crayons. I use the mason jars for liquid bulk food such as almond butter, honey, Bragg’s Liquid Amnios and balsamic vinegar. These jars are great for liquids due to the fact that there is very little left over odor from previous products when you need to use the jars for something else. I tried using the  Bormioli Rocco Fido Jars, but the gasket on those jars absorb odor quite a bit and they stain as well. For the fine grain bulk foods like wheat flour, cane sugar and sea salt, I use the Bormioli Rocco Fido Jars so that the transfer from my grocery bag to my shelf is much simpler. (I literally just move the jar from my grocery bag to my shelf- yea, unpacking after grocery store trips is that fast). The jars are also great for storing snacks from the trail mix bins section. If the jars are too heavy to bring to the grocery store, then the bags will still be fine to use. The drawstring bags are used for the rest of bulk grocery shopping as well as fruits and vegetables.

DSC_3717
DSC_3716

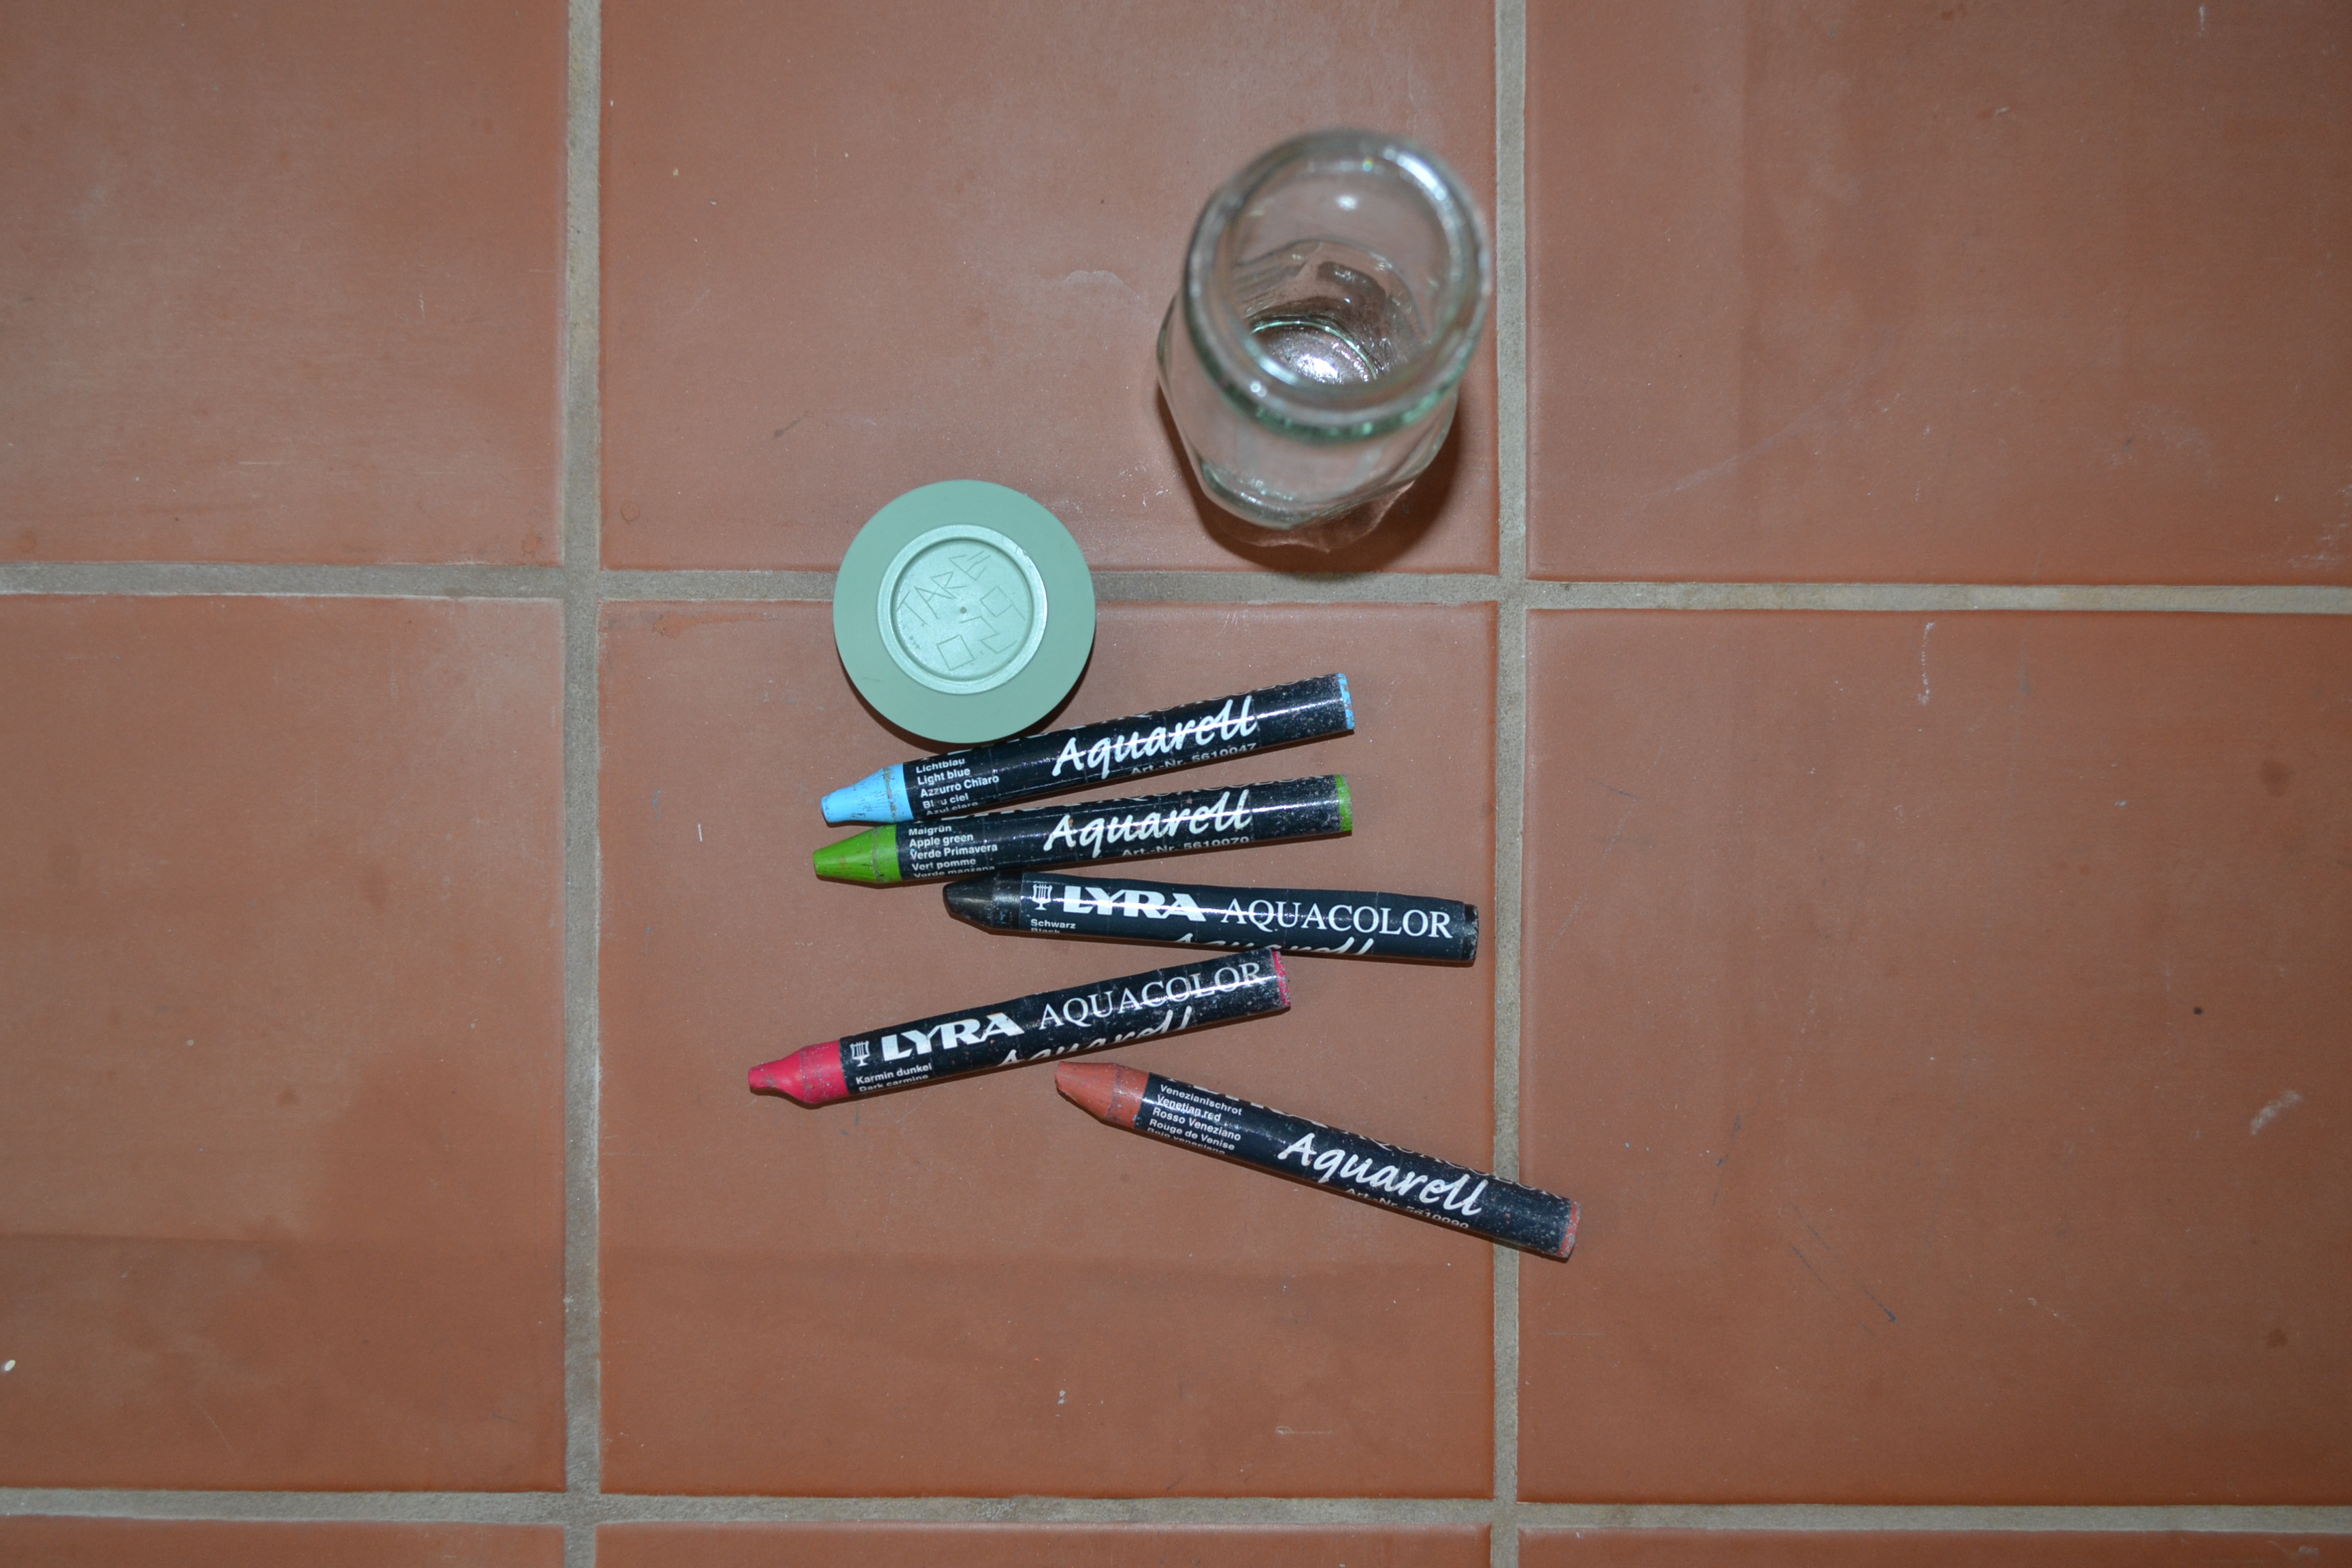
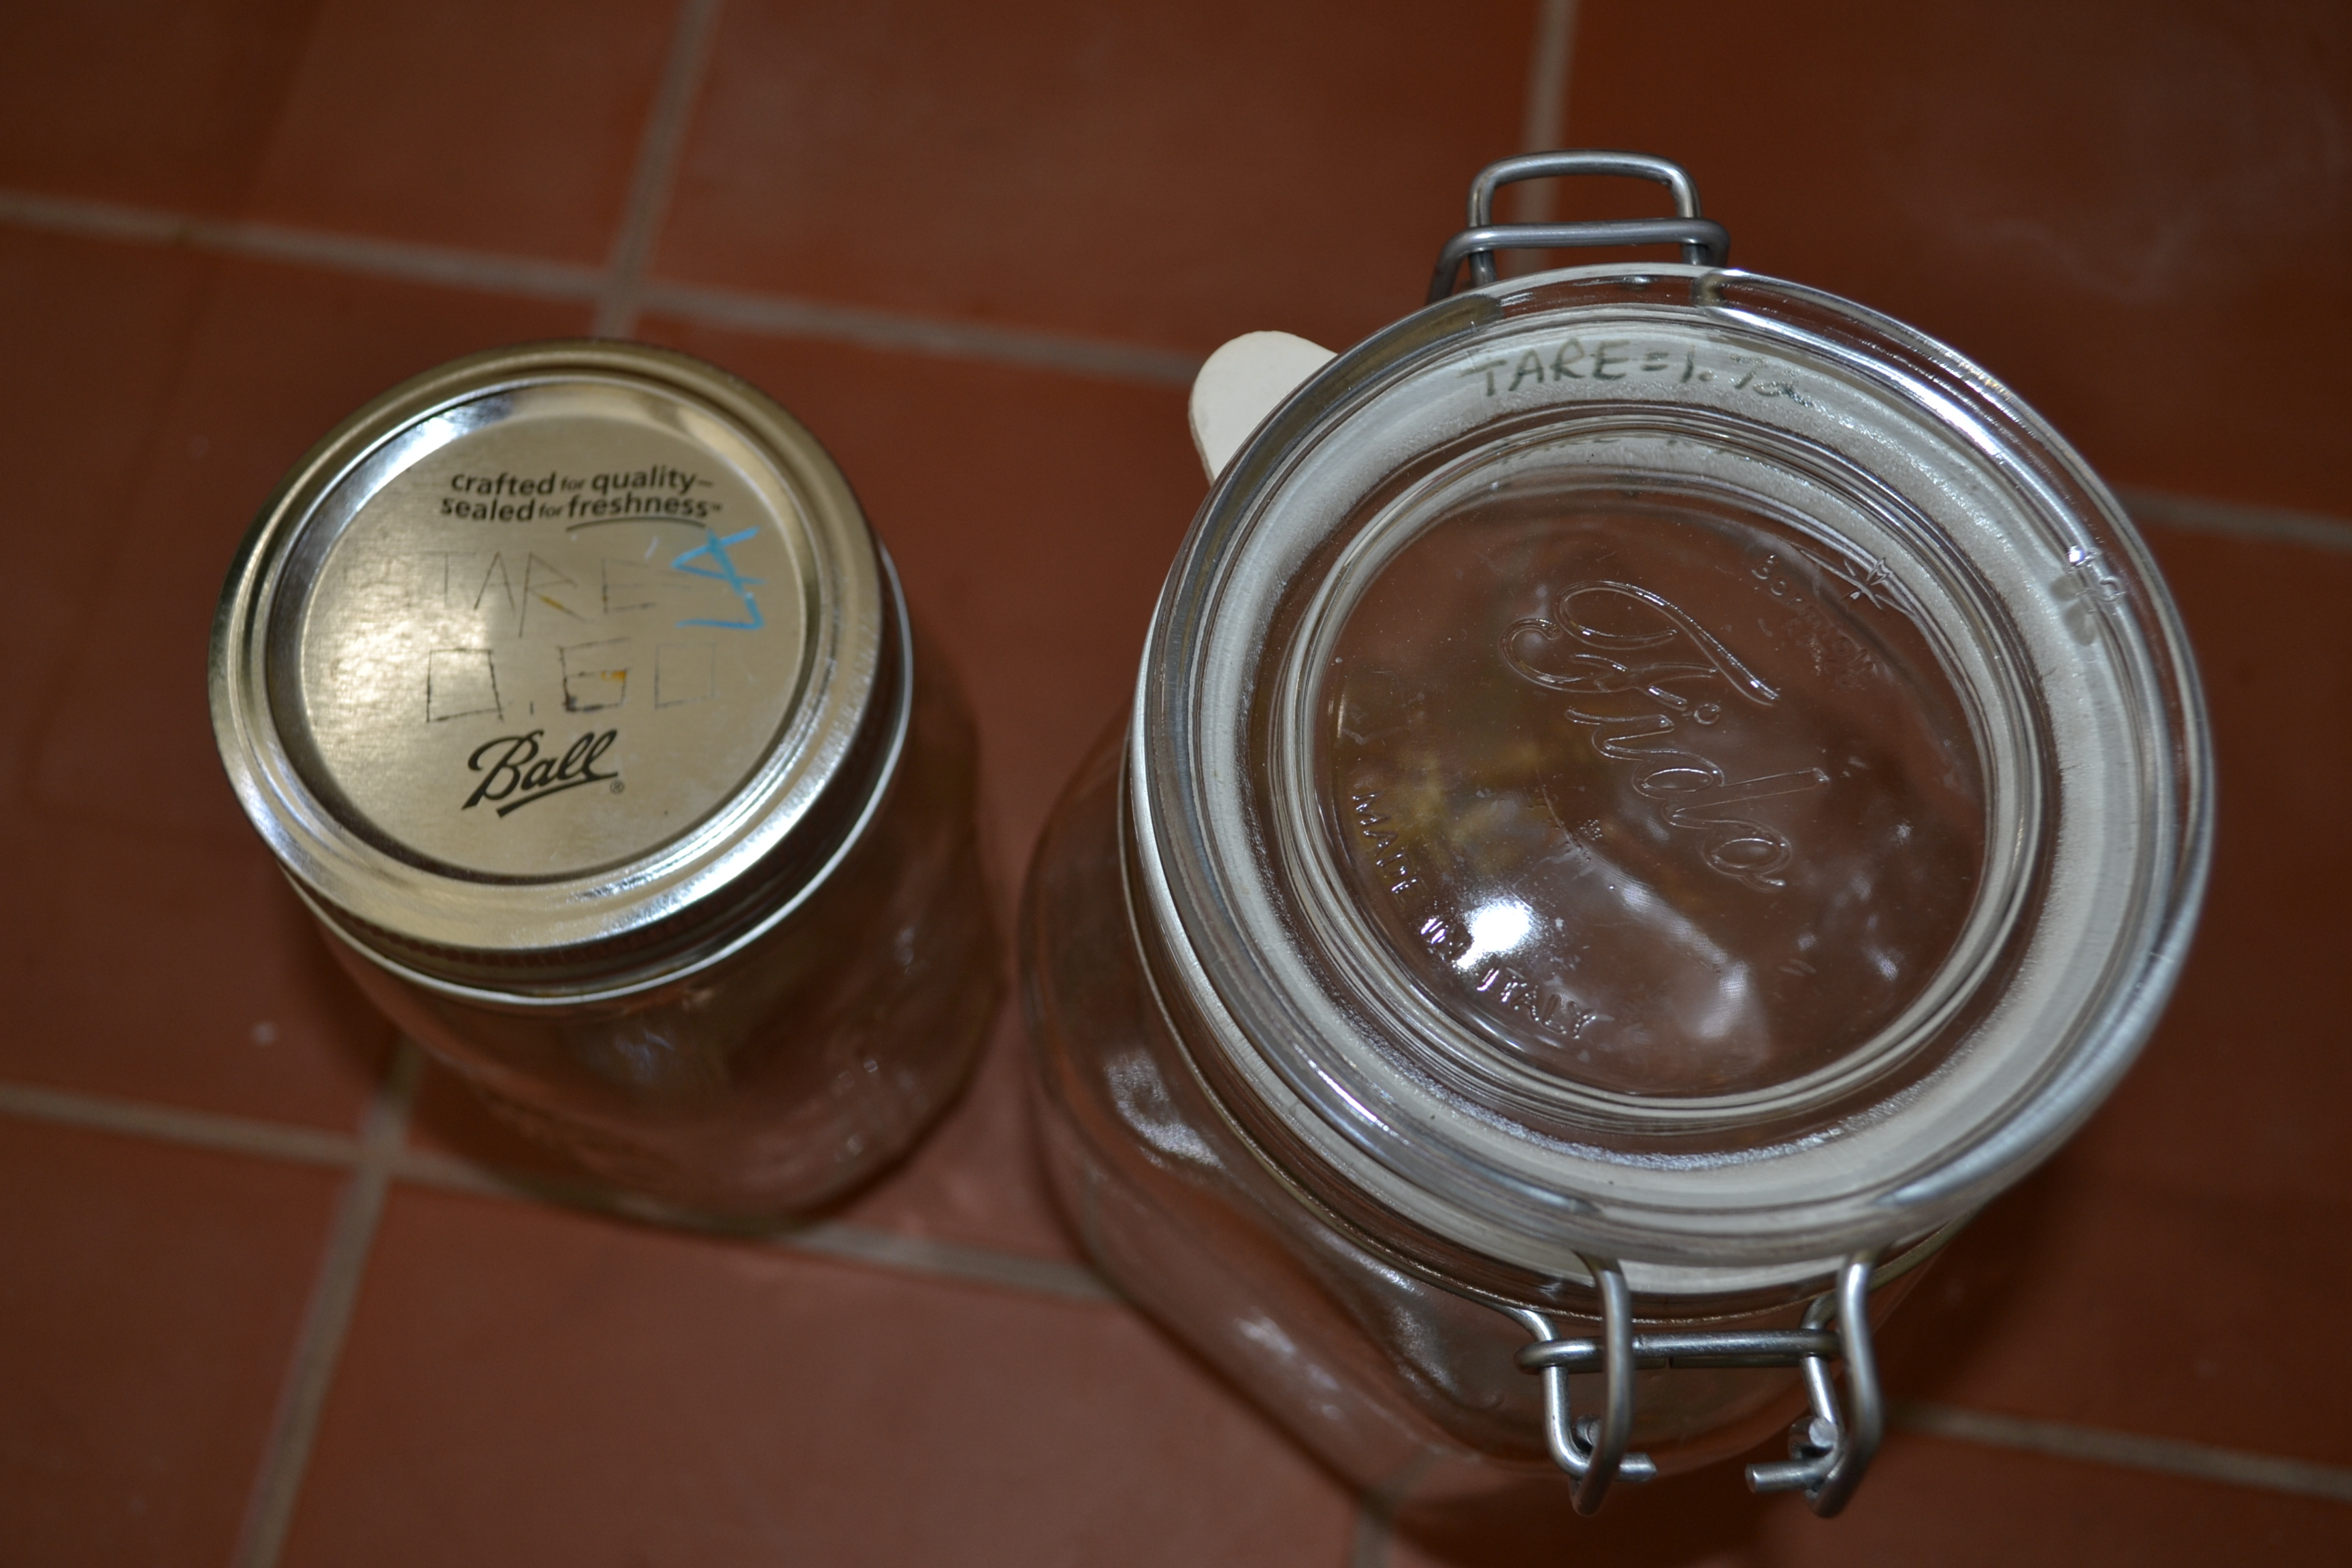
When you use the mason jars and the fido jars, make sure you tare the weight of the jars before filling them up. For the mason jars, I usually carve the tare weight into the lid of the jar and for the fido jars, I’ll write the tare weight on the inside of the gasket so that the cashier can see the weight through the lid. I write the PLU (price look up) code and the initials of the bulk food on the lid with the water soluble crayons. I write the initials alongside the PLU code because products with the same consistency and color can be mixed up (ie. balsamic vinegar and liquid amnios). I hope my bulk grocery shopping kit helps in prepping your grocery shopping kit. If you have any questions, I’m more than willing to answer them.

DSC_3984