How To Reduce Waste In Your Home

08.12.2019

0600

Reducing the amount of trash that comes into your home is not as hard as it sounds. It might sound like a daunting task because we as consumers, buy a lot of packaged items that we bring into our home. However, it’s a simple process of elimination.

For instance, if you evaluate your kitchen items and everything you buy weekly, monthly, and yearly- that’s pretty much your entire list. For the yearly items, if you can find reusable alternatives, you can essentially eliminate your yearly inventory shopping.

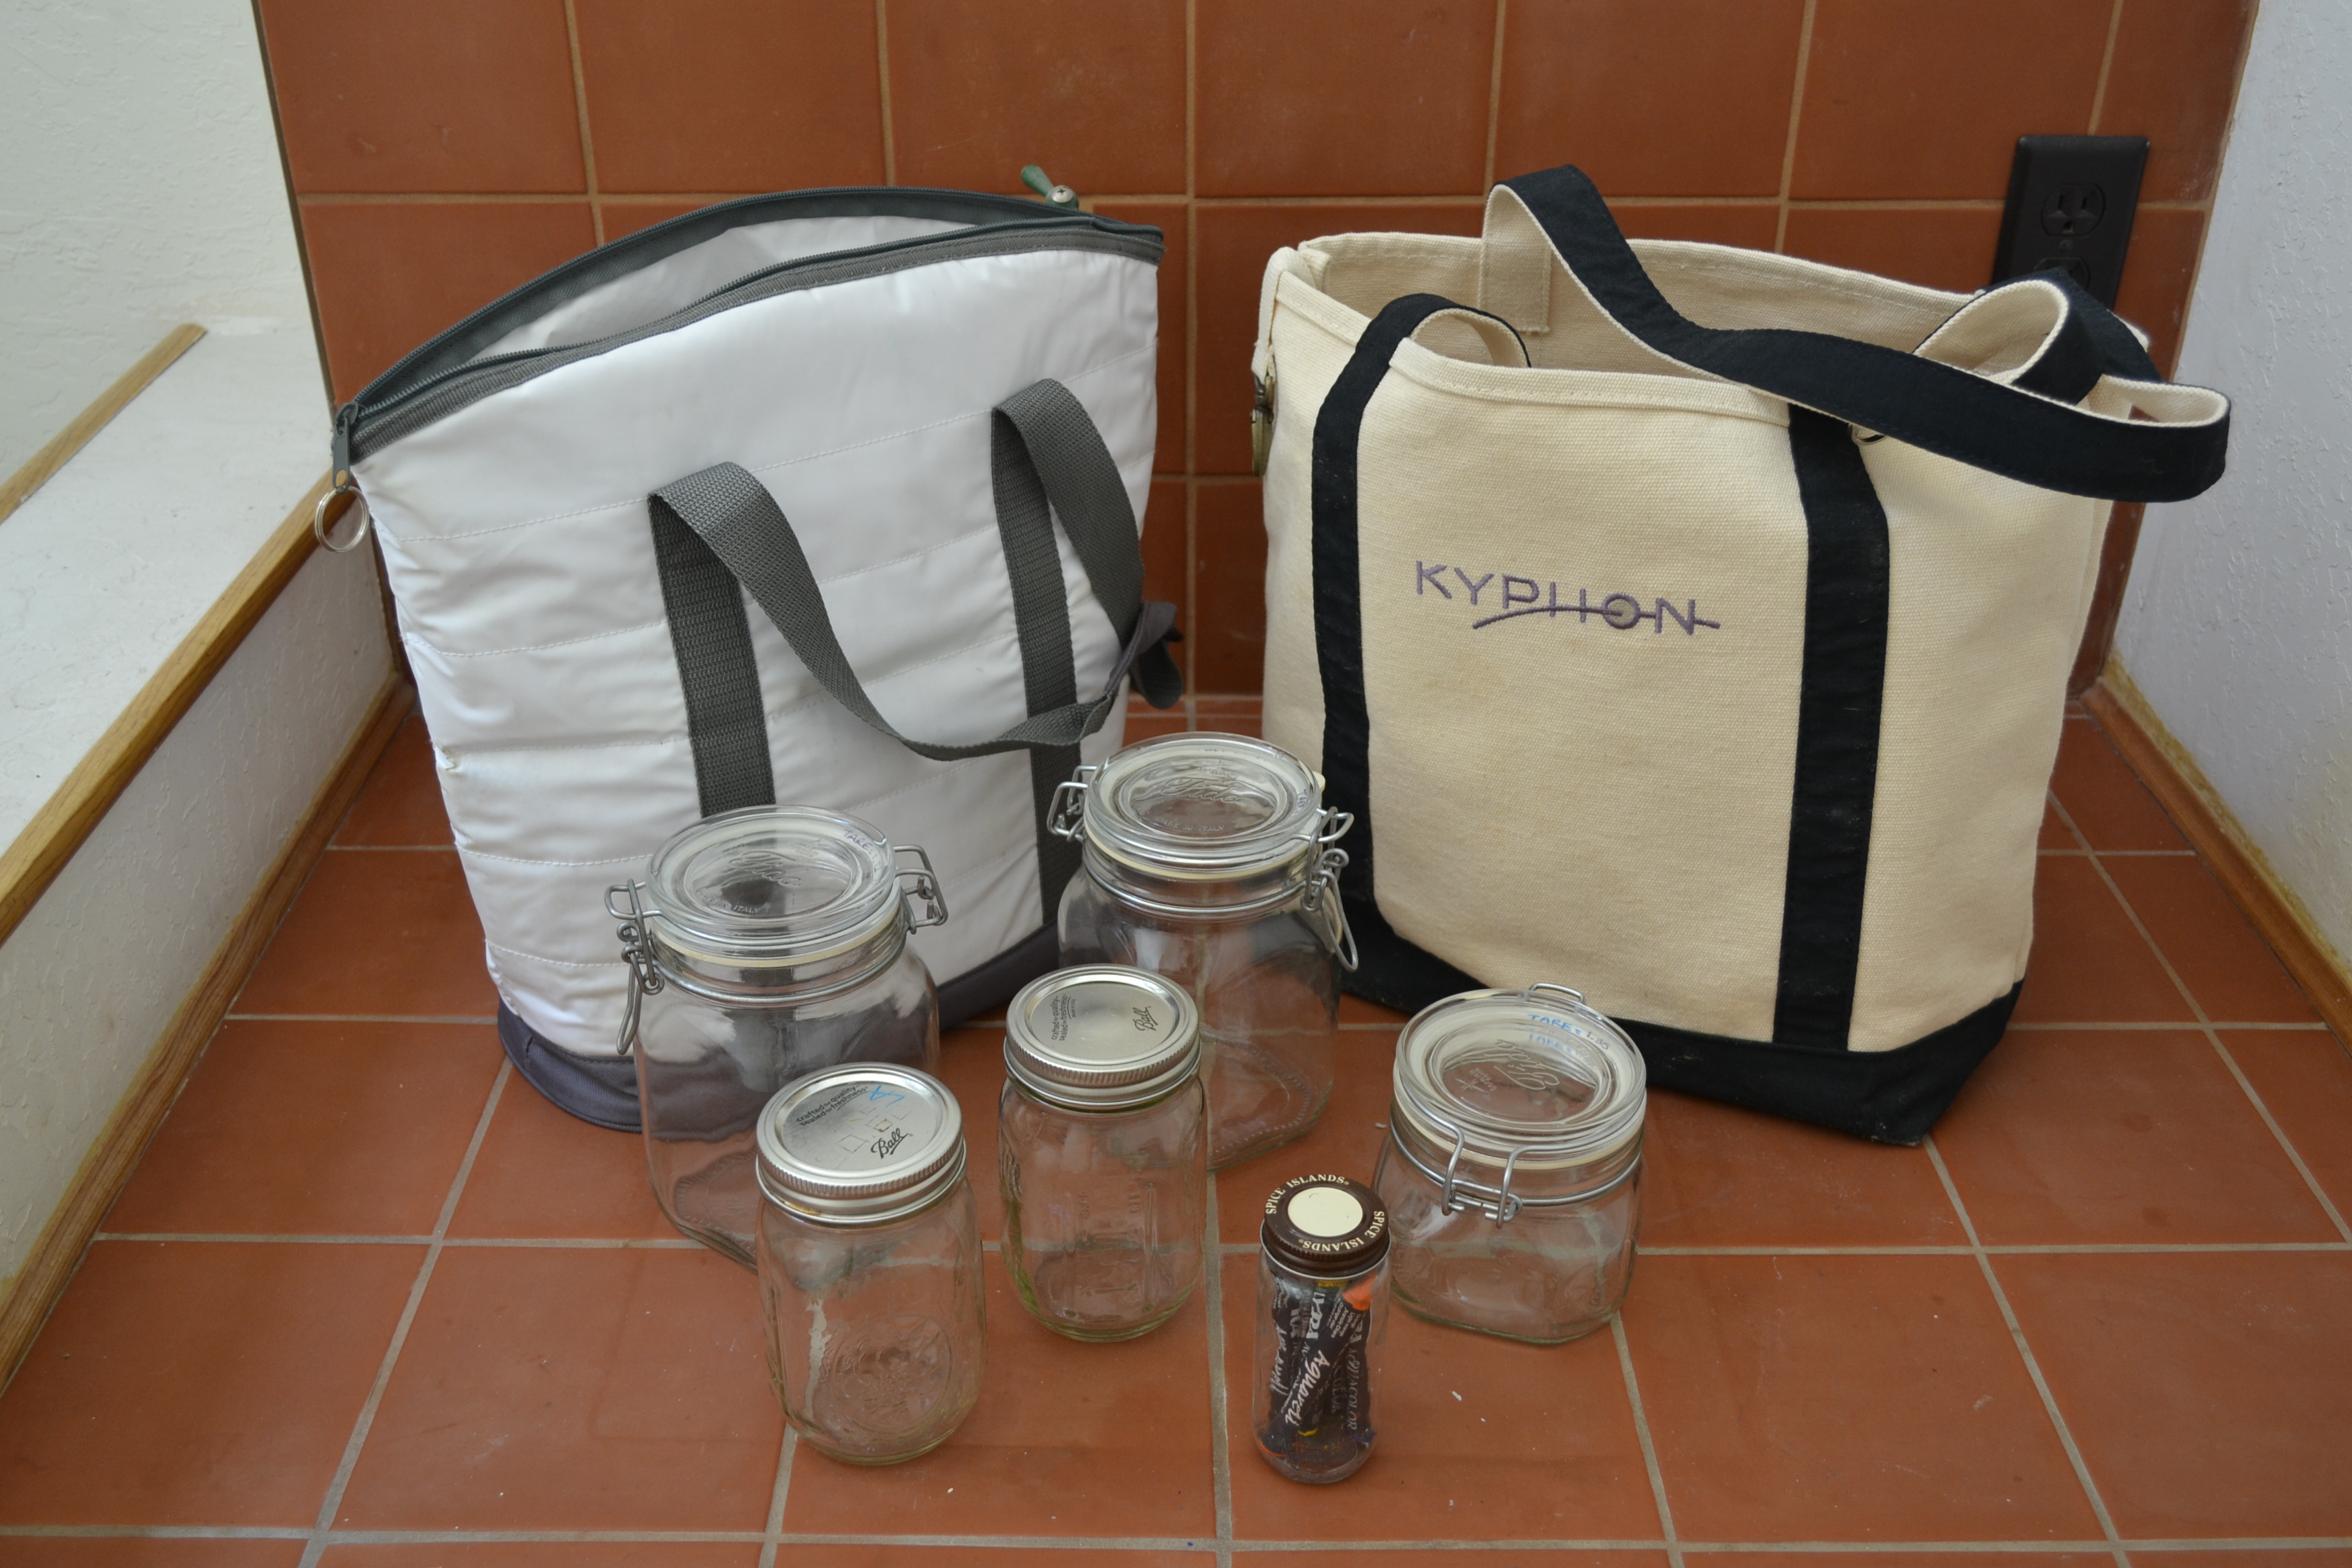
Then, list all your weekly items that you tend to buy, and find reusable, non-toxic alternatives for those items. Your weekly and daily items are most likely the trash culprits. Half of the time, we don’t realize how many coffee cups we buy every day or even plastic packaged lunch items that we purchase daily. Eliminating the daily trash will help greatly reduce the amount of trash that enters your home. There are a lot of reasonable alternatives when it comes to kitchen items. Using cloth napkins in lieu of paper napkins, and using real dishware instead of paper plates can help eliminate the disposable trash output. You can also use real utensils instead of disposable utensils. You can bring a reusable coffee Tumbler when you go to get tea or coffee, so you don’t end up with a disposable cup.

A lot of people don’t know that the paper containers provided for us at grocery stores, and food establishments are lined with plastic, and those containers do not compost or bio degrade. The plastic layer, prevents it from composting completely. It’s a little bit like green washing because you may think your container is completely made of cardboard but it really isn’t. Using reusable items is a much better alternative, because you are in control of how much trash you are producing.

For your bathroom items, it’s the same process as evaluating your kitchen items. Go through your items and figure out which products you use and purchase, yearly, weekly and daily. Slowly replace the yearly items with reusable and sustainable options, as well as a weekly and daily items.

When it comes to medications or anything medical, I suggest that you consult with a doctor before you decide to eliminate certain products. I purchase sunscreen consistently. I live in California, where the sun is strong, and skin cancer is a real concern. I’m very aware that I am producing plastic trash with my sunscreen bottles. However, I would never want to put my health at risk just so I can proclaim that “My lifestyle is absolutely zero waste!”, and I wouldn’t want you to do that either.

Health concerns are very personal, so you know your own limit. If you can eliminate a plastic contained product and opt for a reusable version, than I think that’s great. Right now, I buy my conditioner, body lotion, bar soap, liquid soap, and tooth powder, in bulk. When it comes to sunscreen, face moisturizer and dental floss, those come in packaging.

You can use this evaluation process for the other rooms in your home. The biggest trash producers are the kitchen and the bathrooms. Some people have other rooms where they tend to buy a lot of items for, and those can be also evaluated in the same fashion.

This process takes time, and it takes self awareness to be consistent. Start slow and just work on an area or room in a certain amount of time. If you give yourself a time limit, staying consistent and motivated, becomes easier.

Plastic Packaging In The Kitchen

07.08.2019

0600

Even when I buy items in glass jars because I can’t find a refillable version of it, I always end up with these plastic shrink bands. It seems that zero waste is never an absolute. Sometimes when I do buy produce that is free plastic packaging, I’ll still end up with rubber bands or twist ties. The good thing is I can actually reuse those items, but it’s preferred that I don’t have to.

Most of my dry goods are sold in bulk bins, so I am lucky that I have the privilege to buy package free dry goods from bulk items.

During the process of transitioning over to a zero waste lifestyle, I knew that I would end up giving up a lot of foods that I enjoyed. I personally love potato chips to snack on, but it was one thing I knew I had to give up, since the packaging wouldn’t fit my zero waste lifestyle. I gave up a lot of snacks such as packaged cookies, packaged crackers and packaged candy. There were alternatives to these packaged items, such as certain bulk options.

When I realized I had to give up certain foods, I also sought out alternative food substitutes. There are good substitutes out there, but sometimes, seeking out the alternatives require more work than expected. Once in awhile I will indulge in a packaged food, and then that packaging will get added to my pile of trash for that year. During my journey, I did come across a company called TerraCycle. They team up with certain companies who participate in different recycling programs with TerraCycle. These companies offer recycling programs through TerraCycle, in which customers who purchase their products, can join their recycling program, and send back the packaging to the company for free. It’s an option, and the program change frequently, so checking their website updates is helpful.

I’m extremely lucky to have local bulk grocery stores, who provide the option of bulk shopping, so I can continue this lifestyle. Only once in awhile, I’ll need an item and the glass jar will have the plastic shrink band on it. If I can, I try to only need and use items that are only sold in bulk.

How I Remove Labels On Glass Jars

04.23.2019

0600

Tools:

  1. Stove/microwave to heat up water
  2. Extra old toothbrush
  3. Extra cup wider than your jar/ stove top pot

Materials:

  1. One jar with label glue still stuck to it
  2. Dr. Bronner’s liquid soap
  3. Baking Soda
  4. Water

So I’ve read online about a few tricks of how people remove sticky labels off of glass jars. I’ve read about the method of using olive oil along with baking soda, and then there’s the method of heating up the glass and peeling off the label. I don’t like to use excess oil to clean, because when you wash off the jar, the oil can clog up your plumbing pipes, over time. I have tried to heat up my glass to peel off the label, but it doesn’t always peel off completely. There is one method I’ve stuck to for awhile, but I don’t see people posting about it. My method is pretty simple and it seems to work for me.

I will first peel off the label so that the only film left is the paper and glue. Some jars use a plastic/nylon label and some use paper labels. I like to get rid of the excess label before I start to remove the glue and label. By removing the extra thick layer of label, the jar cleaning process goes by quicker, without any hangups during the process.

After that, I find an extra cup that my jar will fit into. If you can’t find a jar, at least find a pot wide enough, where the jar can be placed horizontally, inside the pot and completely submerged under the water.

I then heat up water in my stove top kettle. I heat it up where the water is pretty hot to the touch, but not scalding hot. The water doesn’t need to be scalding hot to be honest. The idea here is that the water, mixed with the soap, will loosen up the glue.

I’ll then pour the heated water into the larger cup, in between the larger cup and the jar, and a little bit inside the jar. The heated water around the jar is to help loosen the glue off of the jar and the water inside the jar is to weigh it down. I pour enough water into the cup, so that the label and glue are submerged under the surface of the water.

I’ll then drop a few drops of Dr. Bronner’s Liquid Peppermint soap into the water around the jar. I’ll usually spin the jar in the cup a few times, so the liquid soap is distributed more evenly. The soap, mixed with the hot water will loosen up the glue.

After about 30 minutes, I’ll take the jar out of the soapy water. Please be careful, because your jar might still be very hot from being submerged in the water. If it is still too hot to handle, let it sit for a bit longer so the temperature of the water cools off . DO NOT run the hot glass jar under cold water to cool it down. This will likely lead to your glass jar cracking or exploding under the drastic temperature change.

NOTE: Glass expands when hot, contracts when cold. If the exterior surface of your glass jar cools, while the inside surface of your jar is still hot, that creates an uneven thermal profile.  As a result, the surface of your jar is trying to shrink, but the hot inner glass prevents the surface glass from shrinking. This creates a powerful stress profile through the glass — the surface is trying to shrink, but can’t, so it is forced into tension. The hot core is trying to stay the same volume, but the surface is squeezing in, so the core undergoes compression. It’s not hard to figure out which section of glass wins the tug-of-war — the surface fails first. And a crack grows out of some microscopic scratch or flaw, growing and spreading until the stress is sufficiently relieved or the glass is broken clean through. 

SO PLEASE DO NOT RUN COLD/COOL WATER OVER YOUR HOT JAR.

Once it is a bit cooler to the touch, I’ll use baking soda to scrub off the glue, using an old toothbrush. I’ll scrub in circular motion, and periodically dip the jar in the soapy water to rise it off as I scrub my way around the jar.

This method has worked for me, when I’ve needed to remove sticky labels off of glass jars.

Also remember, glue is not permanent on glass. So if you’re patient and allow the glue loosen up, and continue to scrub using the baking soda, than you’ll end up with a clean surface. Sometimes there might be a little bit of glue left, but just continue to scrub it off with the baking soda and soapy water.

This was a simple post, but it was a method that I realized I had never talked about, but always used. It’s just glue; it’s not permanent and it’ll come off.

What I Stopped Buying- Garage, Living Room and Holidays

11.10.2016

0800

2016-07-26 12.26.26
2016-07-26 12.28.26

My last part in my ongoing list of “Items I’ve stopped buying” focuses on my garage, living room and holiday items. This list is very small in reference to the items I frequently bought. The garage items focus around doing laundry and the items needed to do laundry. The holiday items refer to items I used to buy for wrapping gifts.

Doing my laundry is my least favorite chore and ever since I simplified the amount of clothes I own, it’s not as bad as it used to be. (My capsule wardrobe now consists of 27 items.) But also not needing dryer sheets or dropping my items off at a dry cleaners also make for a simple laundry routine. I have so few items when I do laundry, that I simply hang everything up when I’m done. I used to sit and fold my items for a good amount of time, and had to set aside time to do it.

Admittedly, my simplistic routines have made me slightly lazier, but it’s also saved me time so I’m not packing my days off with things I need to get done. I actually HAVE time to be lazy- it’s weird. But I’ll take it. It’s weird because I’ve been conditioned to constantly be busy or with the tasks I need to get done each weekend or every other weekend. These tasks are supposed to take up a good amount of my day (that way I feel I’ve accomplished something for that day). When you get to the point when you find time to breathe (I mean a lot of time), it’s well worth the zero waste journey.

There’s more planning involved in the beginning and routines to get used to, but honestly….. who doesn’t love naps??

GARAGE

  1. Dryer Sheets ——————-> N/A
  2. Dry Cleaning ——————-> Hang items in bathroom while showering so they can steam.(I’ll iron if I ABSOLUTELY have to.)
  3. Laundry Soap ——————> Paper Packaged Powder Laundry Soap

LIVING ROOM

  1. Candles (Bed Bath & Beyond) ——> Sage leaves
  2. Flower Bouquets —————-> Fresh Flowers from backyard

HOLIDAYS

  1. Wrapping Paper —————-> Colorful Bandanas  [wrap and tuck] & old t-shirts made into reuseable gift bags.

Weekly And Daily Errands To Run


09.14.2016

0800

DSC_4736

DSC_4739

When it comes to errands, I actually don’t have to0 do much. I don’t have daily errands, mostly because I work long hours and prefer to go home and relax. For my weekly errands, I do buy groceries each week, but mostly the fresh produce items. I’ll stock up on my bulk dry foods maybe once every 3 weeks. I prefer to completely run out of my bulk foods before I go and buy more- this way, I can refill my jars completely.
For fresh produce, I’ll buy local and seasonal items because I know that I’m supporting local businesses, and that the produce didn’t have to travel far to get its destination.
When it comes to my bathroom bulk items, I tend to buy those items once every three months. Because I buy large quantities when I go on each run, I don’t need to make frequent trips. The task of running out of bathroom items is an issue I absolutely dislike dealing with. It’s the reason why I would stock up on items in the past, which also ended up producing even more trash. Now, I simply look under my  bathroom sink and my jars are already full and waiting to be used. My jars also tend to hold more product compared to the bottles I used to buy, so each time I pull out a jar to use, I know that it will last awhile.

This is a simple list of what my typical weekly grocery run might look like:

  1. Breakfast: Oatmeal, cranberries, flaxseed, almonds, cinnamon, green tea, coffee, cane sugar, Straus Half & Half
  2. Lunch: romaine lettuce, tomatoes, onions, balsamic vinegar
  3. Dinner: bread, mustard, potatoes, green onions, broccoli, green beans, cauliflower
  4. Snacks: Bulk bins, Seasonal Fruit (eat skin if possible.)

For less frequent bulk bathroom shopping list, I tend to buy:

  1. Bulk soap bars
  2. Bulk face lotion
  3. Bulk body lotion
  4. Bulk Dr. Bronner’s Liquid Peppermint Soap
  5. Baking soda
  6. White Vinegar

For my more frequent bulk bathroom shopping items, I’ll buy

  1. Toothbrushes
  2. Dental Floss
  3. Face Sunscreen Lotion

Bulk Grocery Shopping Kit

03.21.2016

0900

DSC_3715

When it comes to grocery shopping, there needs to be an organized system of how you go about gathering your items. Pre-packaged food gave me this convenience when I hadn’t started on my journey to a zero waste lifestyle, so I had to break down what jars and bags I was going to use for bulk shopping.

My bulk grocery shopping kit consists of cloth drawstring bags, Ball mason jars, Bormioli Rocco Fido Jars and my Lyra Aqua Color Water-Soluble Wax Crayons. I use the mason jars for liquid bulk food such as almond butter, honey, Bragg’s Liquid Amnios and balsamic vinegar. These jars are great for liquids due to the fact that there is very little left over odor from previous products when you need to use the jars for something else. I tried using the  Bormioli Rocco Fido Jars, but the gasket on those jars absorb odor quite a bit and they stain as well. For the fine grain bulk foods like wheat flour, cane sugar and sea salt, I use the Bormioli Rocco Fido Jars so that the transfer from my grocery bag to my shelf is much simpler. (I literally just move the jar from my grocery bag to my shelf- yea, unpacking after grocery store trips is that fast). The jars are also great for storing snacks from the trail mix bins section. If the jars are too heavy to bring to the grocery store, then the bags will still be fine to use. The drawstring bags are used for the rest of bulk grocery shopping as well as fruits and vegetables.

DSC_3717
DSC_3716

When you use the mason jars and the fido jars, make sure you tare the weight of the jars before filling them up. For the mason jars, I usually carve the tare weight into the lid of the jar and for the fido jars, I’ll write the tare weight on the inside of the gasket so that the cashier can see the weight through the lid. I write the PLU (price look up) code and the initials of the bulk food on the lid with the water soluble crayons. I write the initials alongside the PLU code because products with the same consistency and color can be mixed up (ie. balsamic vinegar and liquid amnios). I hope my bulk grocery shopping kit helps in prepping your grocery shopping kit. If you have any questions, I’m more than willing to answer them.

DSC_3984